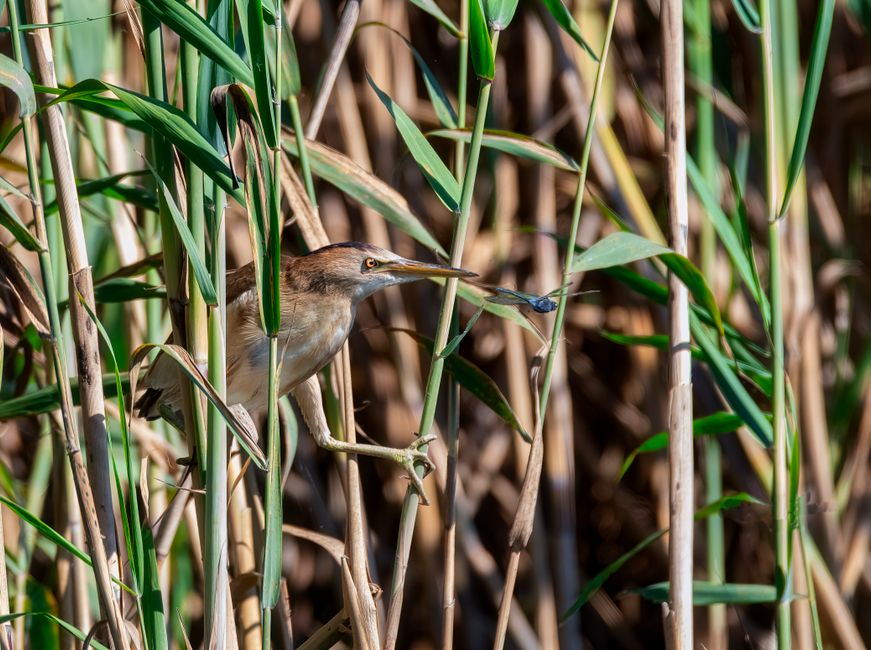
If you're a birding enthusiast, then you know that Africa is a paradise for birdwatching. The next step, for many travellers, is filming and photographing birds from a hide or blind.
This guide shows you how to do that responsibly in African wetlands, focusing on field etiquette that helps keep birds calm. You’ll get practical dos and don’ts for noise, movement, timing, and lens behaviour, with special attention to waders, herons, and roosting raptors.
Why Hide Etiquette Matters In African Wetlands
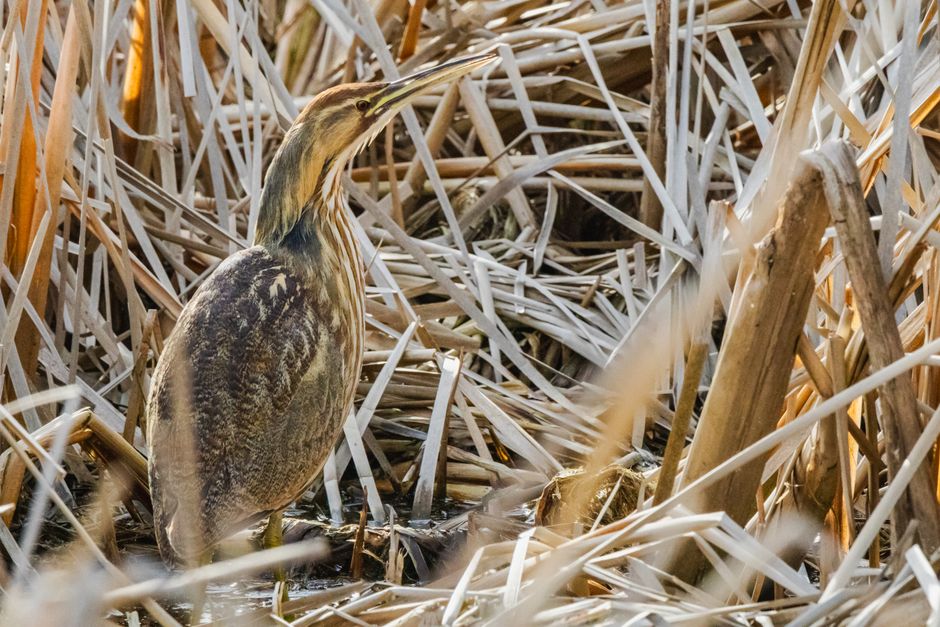
Birds react to small changes, not just big disruptions
In wetlands, birds often feed and loaf in tight rhythms. A hide that looks “still” to you can still feel busy to wildlife if there’s repeated movement, sudden light changes, or sound carried across open water.
Even when birds don’t flush, frequent disturbance can cause them to abandon feeding patches, shift away from cover, or spend more time watching than feeding. For waders and herons, that can mean the difference between a natural feeding posture and constant alert behaviour.
Ethics protect welfare and improve your results
Good etiquette is not only about conservation. It also improves the chance of a stable scene: fewer startle responses, longer time in frame, and more natural behaviour.
A calm bird lets you use longer, steadier shots without frequent refocusing and without the temptation to “chase” action. That is how film and photography stay both effective and respectful.
Your presence should be predictable, quiet, and brief
Think like wildlife is reading your actions. The most disturbance usually comes from unpredictable changes: a sudden stand-up, an unexpected camera flash, a tripod adjustment that rattles the frame, or a lens hood swinging into the line of sight.
Your goal is to become a predictable part of the landscape: prepared before you enter, movement you can control, and sound you keep to a minimum.
Before You Enter: Setup, Permission, And Sound Discipline
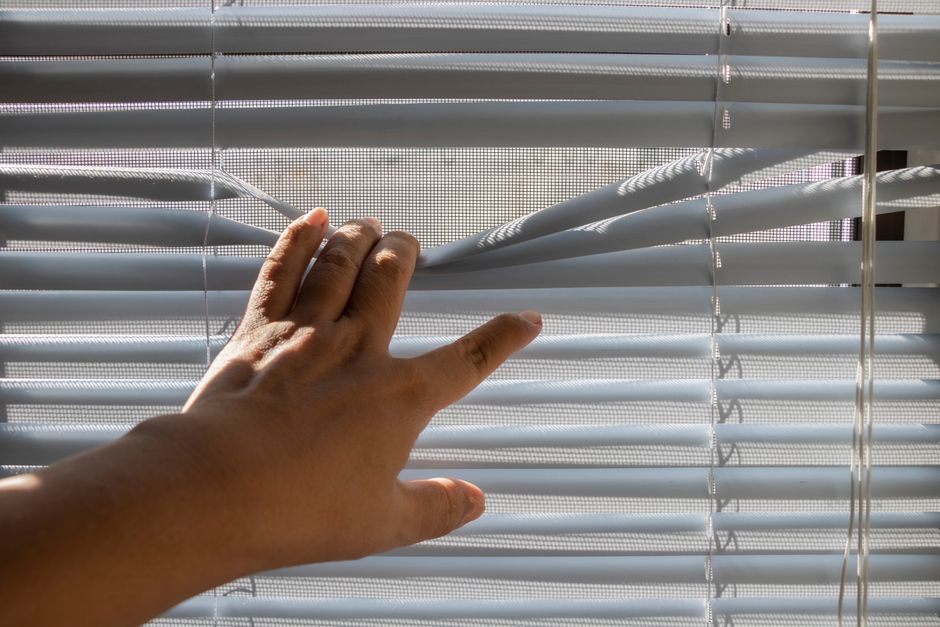
Get the brief, then follow the instructions exactly
Start with the local guide or ranger instructions for that exact hide or blind. Rules can vary based on whether the birds are using a nesting area, a roosting ledge, or a feeding platform.
Listen for specifics such as which side to stand on, where to place tripods, and how far you should keep your body from windows or openings. If you’re sharing the hide, ask how filming positions will be rotated so everyone can work without crowding.
Noise control starts before the door closes
Quiet is more than “no loud talking”. Sound includes soft impacts and repeated small noises: zipper pulls, velcro straps, hard case clicks, and tripod leg locks.
Use these habits:
- Line up batteries and settings before you enter.
- Keep lens caps on until you’re ready.
- Avoid rummaging in bags once the birds are present.
If the guide indicates birds are sensitive, treat even normal camera operation as noise. For filming, choose settings that reduce mechanical movement and avoid audio cues from the camera body.
Body language: slow movements and controlled transitions
When entering, move deliberately and avoid stepping on loose gravel or crunchy dry grass where it can echo. If the blind has a narrow walkway, step with intention and keep your tripod or monopod angles low.
Plan where you’ll place gear so you’re not twisting your torso later. Twisting can shift your feet and knock the blind structure, especially when you lean in for close framing.
In The Blind: Movement, Timing, And Positioning For Waders And Herons
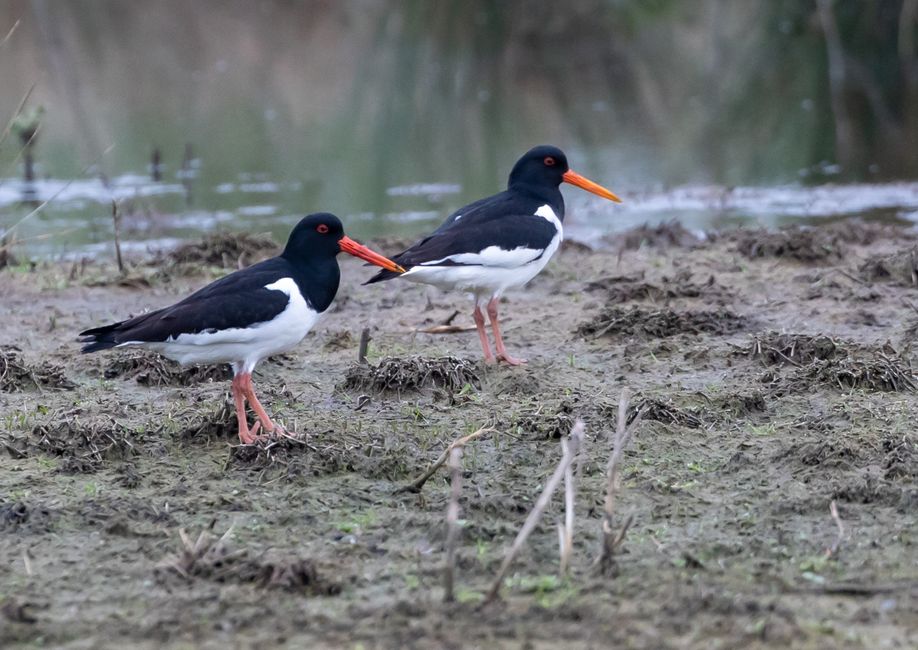
Choose a stable stance and keep the “action” with your feet, not your lens
For waders and herons, stable framing helps you avoid repeated corrections that look like sudden threats. Once you’re settled, use your body movement (small shifts) rather than sweeping the lens rapidly.
A common best practice is to pre-frame gently and then wait. Many wetlands birds feed in cycles. If you keep making micro-adjustments, you often shorten the cycle by increasing attention and alert posture.
Timing is about letting birds choose the distance
Start shooting only after birds show a calm pattern. If they are already feeding or standing in a relaxed posture, keep your behaviour consistent.
Instead of reacting to every twitch with a new camera adjustment, watch for the natural sequence: head movement, probing pauses, and posture changes. Wait for those moments, then capture them with minimal handling.
For filming, consider that a “perfect” clip usually comes from continuity. If you repeatedly stop and start because you’re not positioned well, you often increase noise and movement more than the camera would.
Noise during photography: handle gear softly and predictably
Even small noises can travel across water. Avoid:
- Tightening tripod knobs repeatedly while birds are active.
- Resting elbows or hands on the blind frame in ways that can rattle it.
- Letting cable movement tap the window or struts.
Do use: silent-feeling procedures. Example: loosen once before the session, set height and angle, then lock and leave it. If you must change height, do it slowly and pause to give the birds time to resume natural behaviour.
Lens behaviour: point with your whole body and avoid “hunting” in front of birds
Lens discipline is one of the biggest etiquette factors. Long lenses can feel “gentle” because they’re far away, but they still draw attention if the front element swings, or if the sun catches the lens hood repeatedly.
Try these practical rules:
- Keep the lens aimed and steady once you have the bird.
- Move the tripod by repositioning your feet rather than rotating the lens through space.
- Avoid sudden forward lunges to fill the frame.
For herons, which may stand very still before striking or stepping, sudden lens movement can interrupt that stillness. Waders are similar: they can look unbothered until a small change makes them stop probing.
Filming Roosting Raptors: Light, Focus, And Distance Without Pressure
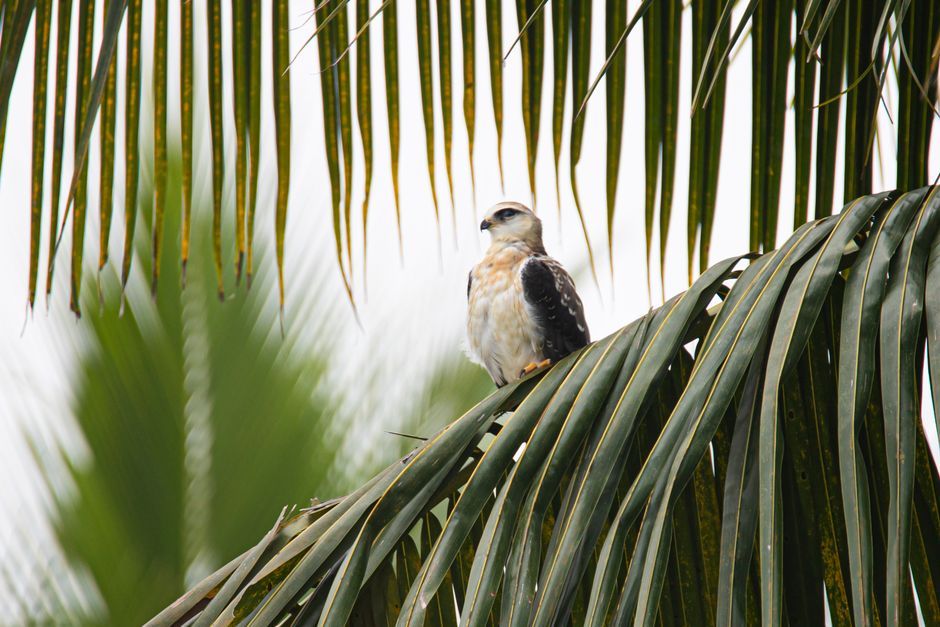
Roosting birds notice light changes first
Roosting raptors can be especially sensitive to changes in illumination, particularly around dawn, dusk, and sudden transitions between shade and sun.
Avoid using bright screens that “light up” the blind interior. If you need to check footage, do it quickly and with the brightness turned down. Also avoid moving your hand across the window repeatedly while adjusting settings.
If you’re filming at low light, plan exposure and focus settings in advance so you’re not constantly operating dials once the raptor is settled.
Focus behaviour: let autofocus work calmly or use manual with discipline
Many cameras and lenses can be distracting to wildlife when they hunt repeatedly. In a blind, “hunting” also means your lens front element and hood keep shifting.
Best practice is to:
- Use a focus method that you can keep stable once the bird is in range.
- Re-check focus only when needed, rather than chasing micro changes.
- Prefer smooth, minimal adjustments over repeated bursts of refocusing.
Roosting raptors often shift posture slowly. If focus is correct at the start, constant refocusing tends to be more movement than the scene requires.
Distance and posture: keep the bird’s comfort zone intact
Even when a roost looks “close,” respect the bird’s control over distance. If the raptor turns its head and then keeps scanning, it may be increasing alertness due to your activity.
Dos:
- Keep your body still once the raptor is settled.
- Allow the lens to remain where it is rather than repeatedly re-aiming.
Don’ts:
- Don’t crowd the opening for a better angle.
- Don’t lean out of the blind to frame a wider shot.
If a raptor shows signs of heightened alertness, pause filming. Wait for calm behaviour to return before resuming.
Responsible Shooting: Share Less Disturbance, Share More Respect
Limit how long you “hold” a bird in a frame
Continuous shooting can create pressure even without obvious movement. When filming, take breaks long enough for birds to settle. This helps you avoid the pattern of repeated attention spikes created by constant camera activity.
A helpful approach is to treat every clip as a window, not a fixed duty cycle. When behaviour changes naturally, record. When it doesn’t, stop adjusting and let the bird continue its own routine.
Keep ethical boundaries in communal hides
Many wetlands hides are shared spaces. Etiquette in shared blinds is partly about fairness and partly about welfare.
If another photographer is working:
- Agree on a lens angle or shooting order.
- Avoid leaning across another person’s setup.
- Don’t reposition tripods in ways that force others to move to keep their subjects in frame.
When conditions are bright, glare can cause you to adjust quickly. Reduce this by using a steady stance and shielding the lens from reflected light where possible.
Choose responsible locations and avoid sensitive zones
Some areas naturally attract more sensitive behaviour, such as roosting structures or shallow feeding edges. Choose hides or blinds that are designated for viewing and ask where you should not point your lens.
If you want an idea of where filming hides are commonly used, these wetlands are often associated with serious bird photography and careful guided viewing:
- Okavango Delta, Botswana
- Lake Naivasha area, Kenya
- Bangweulu Wetlands, Zambia
- Kafue Flats, Zambia
Species to prioritise for gentle technique
Use extra restraint around birds that depend on low disturbance for successful feeding or roosting. Examples of species that often benefit from particularly careful hide behaviour include:
- Marsh Sandpiper
- Black-winged Stilt
- Grey Heron
- Black-crowned Night Heron
- African Fish Eagle
When to move, and when to stop entirely
The rule of thumb is: do not make the birds “prove” you’re not disturbing them. If they change behaviour—standing abruptly, stopping feeding, repeated scanning, or moving away—pause.
Stop shooting first. Then reduce movement for a few minutes and reassess. If the birds continue to show alert behaviour, leave quietly and in accordance with the guide’s instructions. Responsible filming sometimes means capturing less, but capturing it ethically.
Overall, the best hide and blind etiquette for African wetlands is built on predictable behaviour: prepare your gear before you enter, keep your movements slow and your lens steady, and choose timing that lets birds control their own distance. When you prioritise welfare over “one more shot,” you protect wildlife, respect local guidance, and often end up with footage that feels natural because it was made with restraint.
Leave a Reply