
If you're planning a safari trip, you might be wondering how you can make your experience more sustainable. When you photograph from a hide, sustainability starts with the smallest choices you make: how you arrive, how you hold still, and how you set up your camera.
This guide shows how to photograph African wildlife from safari hides without spooking animals. Expect practical advice on approach etiquette, shutter-speed priorities, autofocus (AF) modes, and ways to deal with heat shimmer and dry-air haze so your images stay sharp and your subjects stay relaxed.
Hide Etiquette: Settling In Without Disturbing Wildlife
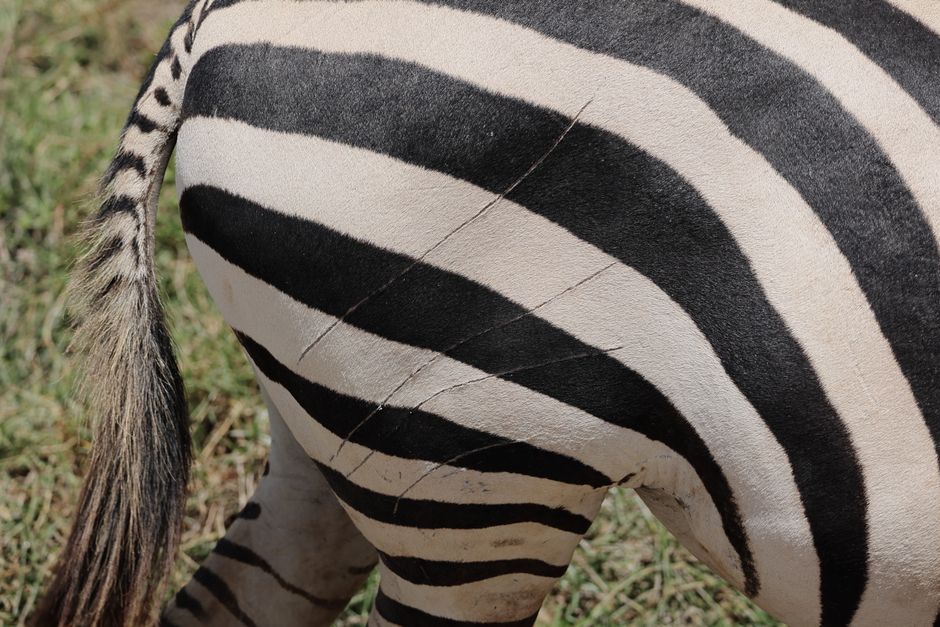
Arrive quietly and follow the hide rules
The first step is simple: you’re stepping into the animals’ space, not asking the animals to accommodate you. Before anything happens, follow the lodge or guide’s hide instructions for where you sit, how close you stay to the window openings, and what you’re allowed to do with doors, blinds, or tripods.
If a hide is in use, treat it like a shared workspace with a strict noise budget. Wait for the operator’s cue before changing position, and avoid speaking at full volume even if the hide feels enclosed. Many animals read vibration and sound; calm human presence helps them settle back into feeding, drinking, or scanning.
Move slowly, keep posture stable, and avoid sudden actions
From a hide, your biggest risks are the moments you forget you’re being watched: changing lenses, lifting your camera quickly, shifting your weight, or adjusting clothing. Move slowly and deliberately, ideally with your hands already positioned before you need them.
If the hide has a window or viewing slit, keep your lens movement inside the opening rather than across the outside of the hide. When animals are near, prepare adjustments in advance: check the lens hood orientation, confirm you can reach controls without standing, and plan your camera grip so you’re not re-positioning mid-action.
Let behavior lead: don’t force closeness
Wildlife decides whether it comes closer. A hide can give you a stable shooting position, but it cannot change how animals feel about it. If animals pause, lower their heads, stop feeding, or start watching you more intensely, that’s a cue to reduce activity, pause shooting, and let the moment settle.
Aim for “presence without pressure.” The best shots often come when you stop chasing the perfect frame and instead wait for natural behavior—head turns, relaxed stance, subtle movements—while staying still enough that the animals feel safe.
Camera Settings That Prioritise Sharpness in Safari Conditions
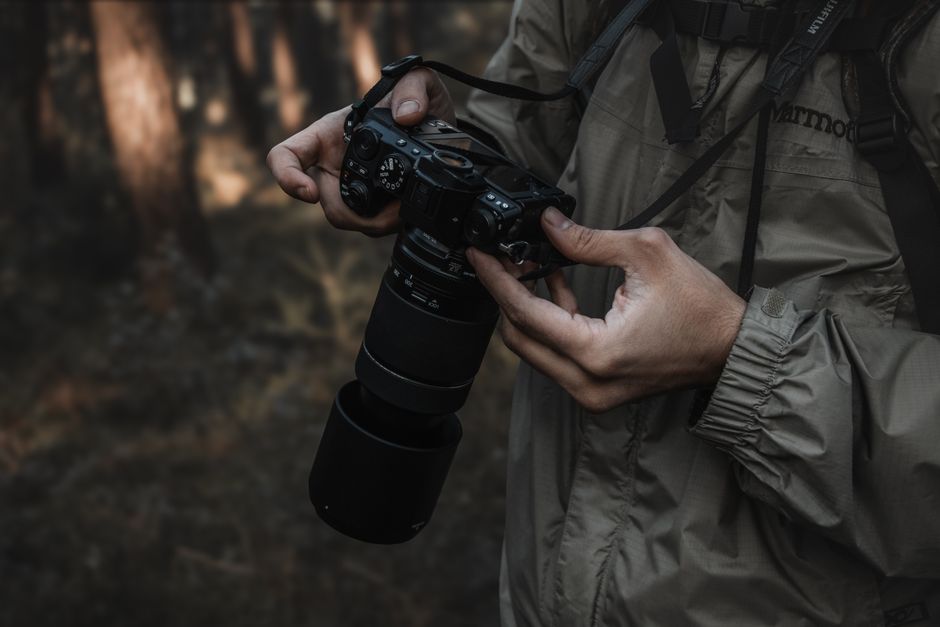
Shutter speed comes first for wildlife motion
In hides, your camera can be steady, but the subject often is not. Whether it’s a bird adjusting its beak, a lion shifting stance, or an elephant taking a slow step, you need shutter speed that can freeze motion and reduce blur from small camera movements.
As a practical baseline, start by choosing shutter speed based on the speed of the animal and how close it is. For slower, deliberate movements, you can often work faster than you would for landscapes. For unpredictable action—quick head movements, wing flaps, sudden stepping—you’ll want higher shutter speeds to preserve feather detail and eye sharpness.
If you’re unsure, prioritize shutter speed over everything else. In safari hide photography, sharpness beats noise control in most situations, especially because the subject is the story.
Use aperture and ISO to support your chosen shutter
Once shutter speed is set, aperture and ISO should do the supporting work. A wider aperture can help when light drops inside the hide or on overcast days, but it may reduce depth of field if the animal moves toward or away from you.
A more stopped-down aperture can keep the eyes and face sharp across a short range of movement, but it also pushes ISO higher. The key is to set exposure to protect highlights when the animal is against bright backgrounds (such as pale sky or dry grass), then raise ISO as needed for shutter speed consistency.
Choose AF modes that match the moment
AF behavior matters as much as shutter speed. Many hides involve a mix of subjects: something may be stationary for a while, then suddenly turn or walk into a better light angle.
In general:
- For moving animals, use continuous AF (often labeled AF-C or AI Servo) with an area mode designed for tracking. Start with a manageable focusing area and let the camera guide you, but keep awareness of what the camera is likely to lock onto (fences, reeds, branches, window frames).
- For slower, stationary moments, use single-point AF (or a small area) aimed at the eye or nearest visible eye line. This helps when the background is busy and tracking can drift.
- If your camera allows it, consider using back-button focus so you can “hold focus” during composition while still keeping your shutter function predictable.
Whatever the AF mode, re-check focus quickly before firing bursts. If AF repeatedly hunts or locks onto the wrong object, refine the AF area size or change how you aim the focusing point—don’t just keep shooting through bad focus.
Composing From a Hide: Light, Angles, and Longer Sessions
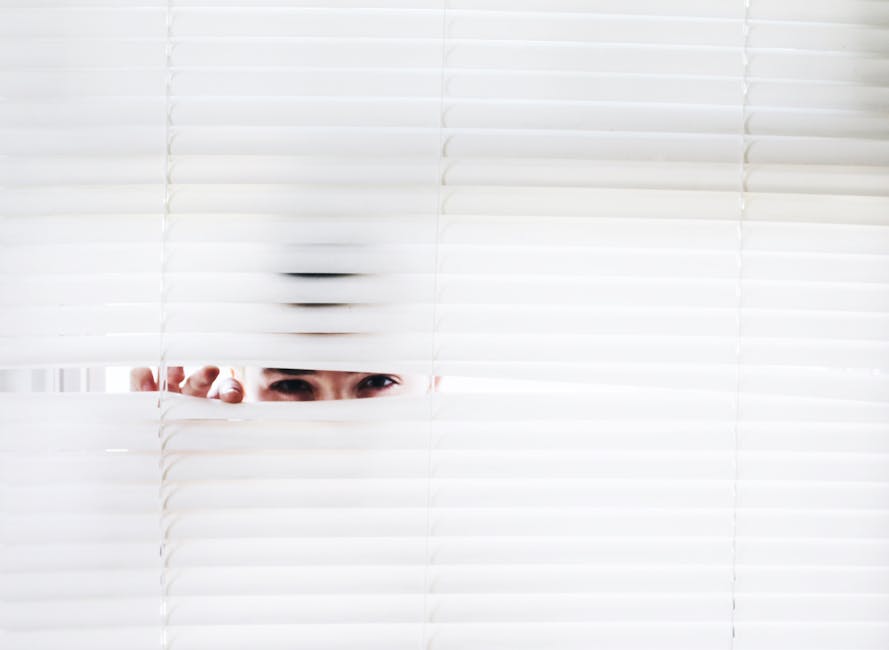
Manage window reflections and use the hide’s geometry
Hides often include a window, mesh, or opening where light bounces back into the camera. Reflections can wash out contrast and introduce flare. To reduce this, keep the front of your lens close to the opening (without touching the glass or mesh), use a lens hood, and shield the lens area from stray light.
Inside the hide, avoid high screen brightness and be mindful of your clothing tone against the opening. Bright elements behind the camera can reflect, distracting the scene you’re trying to capture.
Build your composition around animal eye lines
Hide photography rewards patience, but it also rewards preparation. Before the action arrives, decide where the animal will enter the frame—especially around waterholes, paths, and feeding zones. Frame so you’re ready when an eye turns toward you.
Aim to place the subject’s eye near the upper third of the frame when possible. If the animal is side-on, keep space in the direction it’s facing. If it’s turning, hold off firing until the eye is visible and sharp; a late burst often beats a perfect-looking composition that lacks eye contact.
Longer sessions: wait, then shoot in small bursts
Inside a hide, your job is to remain steady and responsive. Instead of continuous spraying of the shutter, use small bursts when something changes: head angle, breathing posture, tail position, wing tilt, or a shift from scanning to feeding.
If your camera has a quiet shutter or vibration reduction, use it according to hide conditions. If the hide is very confined, be cautious with stabilization modes that can introduce blur when the camera is supported tightly. The simplest rule: shoot, review quickly for sharpness and composition, and adjust only what’s necessary.
Overcoming Heat Shimmer and Dry-Air Haze
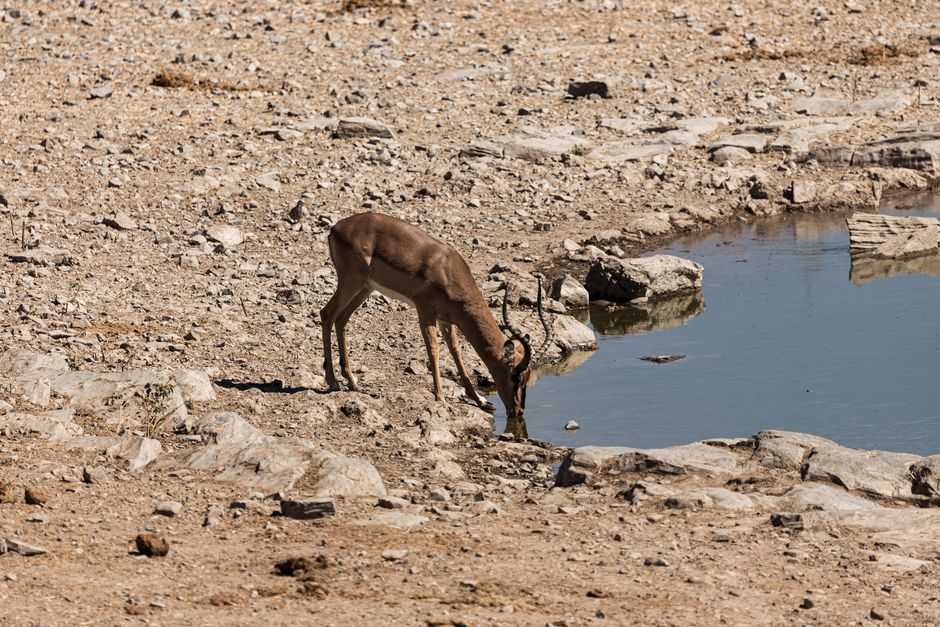
Understand what you’re seeing: shimmer isn’t blur you can “fix”
Heat shimmer and dry-air haze reduce contrast and distort the path of light. In practical terms, they can make edges look soft, eyes look slightly smeared, and fur detail seem to melt even when focus is technically correct.
This is why “getting focus right” is only half the battle. Even with perfect AF, shimmering layers between you and the subject can bend the image. Your goal is to reduce the conditions that cause the distortion and choose settings that preserve detail when the air is unstable.
Increase shutter speed and limit long-distance distortion
Heat shimmer tends to be worse when temperatures are high and the air is actively moving. If you have control over timing, prioritize earlier or later in the day, when the air is often calmer and the background is less likely to haze.
From the hide, increasing shutter speed helps because it freezes the motion of heat-driven distortion from frame to frame. It won’t eliminate haze entirely, but it can make the “best moment” in a burst genuinely crisp. If you’re photographing from a distance, expect that shimmer will increase with range; when possible, wait for the animal to step into a more favorable position closer to your sightline.
Use lens discipline: clean glass, smart distance, and controlled exposure
A layer of haze already reduces contrast; any dust on your front element or smudges from touching the lens can make the image worse. Keep your lens clean, protect it from wind-blown grit, and check the front element if the hide has dusty air.
Exposure matters too. If haze makes backgrounds brighter, your camera may underexpose the animal. Consider using exposure compensation to protect the subject’s mid-tones while keeping highlights under control. In very hazy conditions, aim for an exposure that retains facial detail rather than chasing maximum brightness that turns everything into a pale veil.
Some photographers try polarizing filters to manage glare, but in heavy haze the effect may be limited. The better approach is to stabilize your technique: consistent framing, consistent shutter speed, and a burst strategy that lets you pick the crispest frame.
From Species to Sharing: Ethics, Safety, and Responsible Photography
Photograph welfare first: don’t bait, don’t corner, don’t crowd
A hide can be a powerful way to observe wildlife with minimal disturbance, but only if the photography stays ethical. Never bait animals unless the hide operator explicitly permits it as part of an approved system, and even then, follow strict procedures. Don’t use food, calls, or lights to draw animals closer.
If an animal appears uneasy—frequent alarm looks, sudden stand-still with stiff posture, repeated attempts to relocate—stop shooting for a moment. Allow time for the animal to reset. The goal is to capture behavior without changing it.
Keep safety margins around powerful wildlife
Safety is not optional, especially in enclosed hides. Maintain a safe distance from the opening and avoid leaning out beyond what the hide design allows. Don’t extend limbs, and be mindful of how quickly animals can move if they spook.
For predators, even a calm stance can change in a fraction of a second. Treat every moment as potentially unpredictable: keep your gear positioned so you can move smoothly back into a safe posture, and follow guide instructions regarding when the hide should be evacuated.
Know what you’re most likely to photograph from a hide
Hides are used in different ways across Africa, but certain subjects show up again and again because they visit predictable places like water, trails, or feeding sites. Common hide subjects include:
- Lions
- Leopards
- Elephants
- White rhinos and black rhinos (in suitable reserves)
- Buffalo
- Hippos
- Kingfishers and other water-edge birds
If the hide targets a specific habitat—waterhole, riverbank, or grassland edge—study the area before action builds. Understanding the likely behavior helps you set AF modes and shutter speed before the animal arrives.
Overall, the most reliable way to photograph African wildlife from safari hides without spooking animals is to combine etiquette with technical discipline: stay calm and still, choose shutter speeds that can freeze movement, use continuous AF for unpredictable motion (switching to smaller AF areas when the background confuses the camera), and shoot in short bursts that give you options when heat shimmer or dry-air haze soften contrast.
Leave a Reply