
If you're planning a safari trip, you might be wondering how to capture great wildlife images when the light is changing and the action doesn’t wait. The good news is that the right shutter speed is a powerful control knob for both sharpness and mood.
This guide walks you through wildlife photography settings for a game drive, with a focus on: shutter speeds for moving animals, shooting from a vehicle, and how to adapt when the light drops off at dawn and dusk.
Along the way, you’ll also get practical exposure priorities and on-drive habits that help you keep your camera set correctly without missing the moment.
Choosing Shutter Speed for Moving Animals
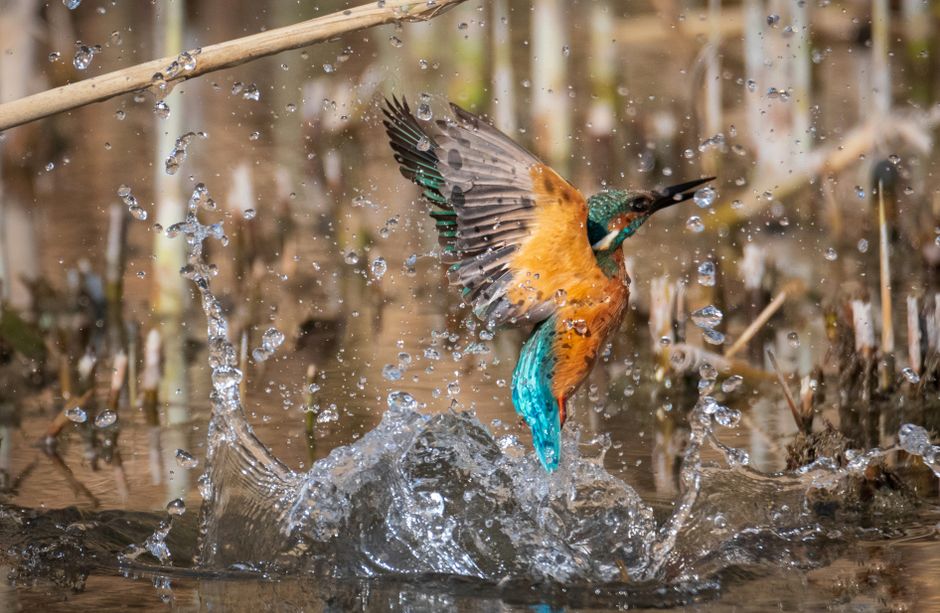
Freeze vs. show motion
Shutter speed controls how much movement gets recorded during the exposure. For game drive photography, you usually want two different looks depending on the subject:
- Freeze the body (sharp legs, clear eyes): use a faster shutter speed.
- Embrace a little motion (a touch of blur in the legs or background): use a slightly slower shutter speed or a deliberate panning technique.
Because animals rarely move at a constant speed, the practical approach is to choose a shutter speed range that matches the typical behavior you’re seeing, then adjust only when the situation clearly demands it.
A starting shutter-speed guide
For sharp results, remember that blur can come from animal motion and from camera shake. The quicker the action (running, charging, sudden turns), the more you need speed. If your subject is relatively still—like a resting lion or a grazing zebra—you can go slower.
As a quick starting point, try this during the drive:
- 1/1000s or faster: fast movement (trotting/running, quick head turns)
- 1/500s: moderate movement (walking, alert posture)
- 1/250s: slow movement (grazing, standing, calm movement)
- 1/125s (use carefully): very slow or if you’re panning well
These are starting points, not strict rules. If the camera is still but the animal is moving quickly, the shutter speed is what you must raise.
Match shutter speed to focal length
Longer lenses magnify shake and make blur easier to notice. Even when shooting from a vehicle, movement of the car can translate into camera shake, especially at 300mm and beyond.
If you’re using a long telephoto, lean toward the faster end of the ranges above. If you’re using a shorter reach (or the animal is close), you may be able to drop slightly while still keeping the eyes sharp.
Shooting from a Vehicle: Stability and Timing
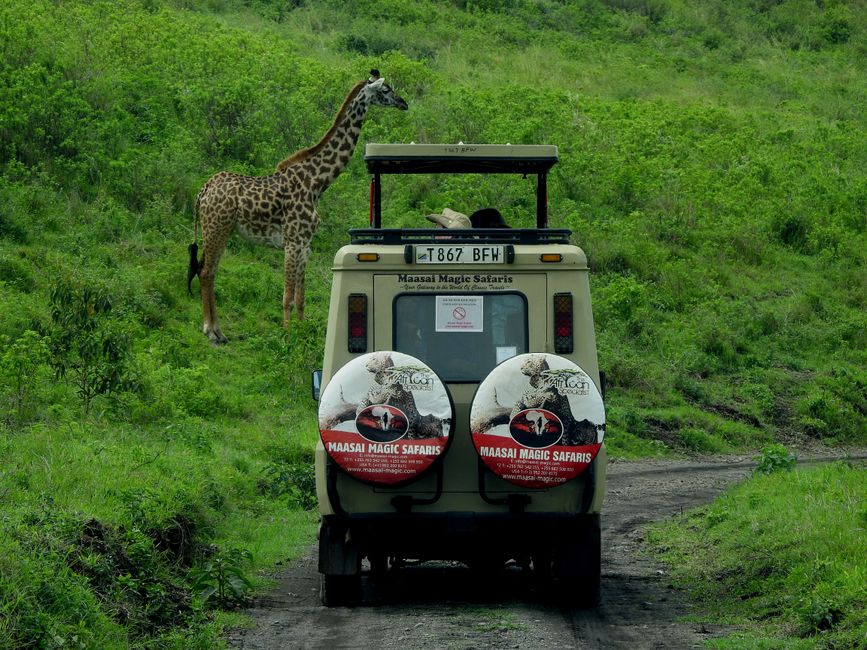
Plan your position before you press the shutter
In a game drive setting, the best shots often come from anticipation rather than constant shutter pressing. When an animal appears, give yourself a brief moment to:
- align your subject in the frame
- check where the animal is moving next
- confirm your focus point is on the head/eye area
Vehicle movement is unpredictable, so the goal is to make each burst count. Rather than spraying continuously, wait for a clean window where the vehicle steadies and the animal’s head is visible.
Panning without losing the eye
If the animal is moving laterally—crossing the road or moving parallel to your vehicle—panning can create a pleasing background blur while keeping the animal sharp enough to feel real.
Panning works best when you can keep the subject roughly in the same part of the frame and follow through smoothly. Use a shutter speed that’s fast enough to hold detail in the head. For many vehicle lateral-movement scenarios, that often means around 1/500s or faster, then fine-tune based on the results you see in playback.
Use continuous autofocus and sensible burst
For moving animals, continuous autofocus (AF-C or AI Servo) usually performs better than single-shot focus, because the subject distance changes with movement. Pair it with a burst mode that’s fast enough to catch the peak of action—without going so long that you fill your cards or miss your moment of alignment.
A useful habit is to shoot short bursts when:
- the animal’s head is facing you (best for eyes and expressions)
- the gait looks like it’s in a steady rhythm (not just the first awkward step)
- you have a clear view around savannah grasses
Dawn and Dusk: Low-Light Shutter Speed Strategies
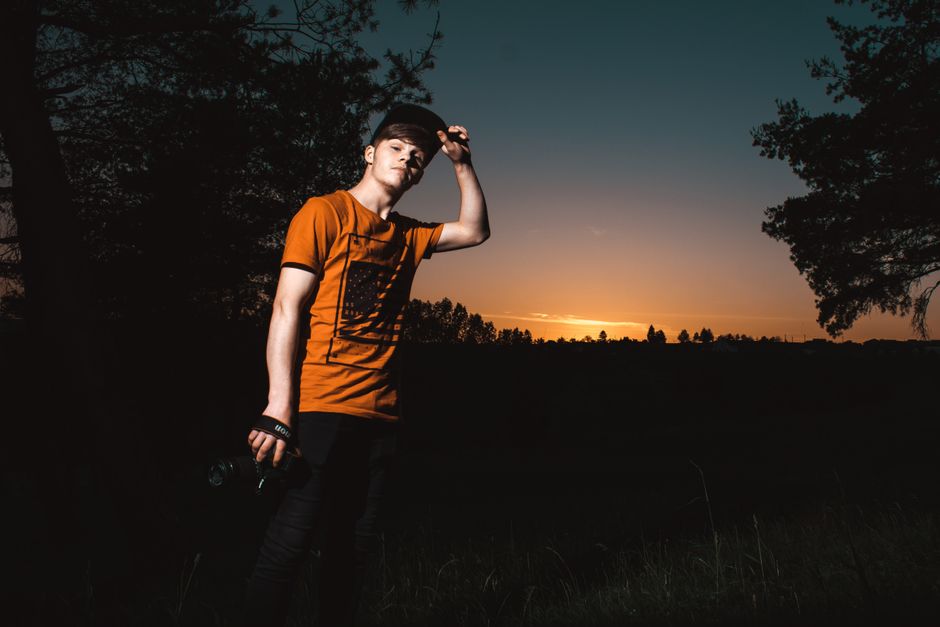
Expose for the subject, not the landscape
At dawn and dusk, light drops quickly, and the camera may suggest slower shutter speeds to maintain exposure. If you keep lowering shutter speed automatically, motion blur becomes likely. Instead, decide what matters most:
- If your priority is sharp wildlife detail (eyes, facial features), keep shutter speed in a range that can handle motion.
- If your priority is atmosphere (soft background, silhouette mood), you can accept more motion blur.
In practice, for most game drive action, protecting shutter speed means you’ll often need to raise ISO. A higher ISO is usually preferable to losing sharpness entirely.
A practical low-light workflow
A steady workflow helps you stay consistent across changing clouds and shifting light. Try this approach when the light is fading:
- Set your aperture for your lens and scene depth (often around wide-open to keep light coming in, then stop down slightly if needed for more head-to-body sharpness).
- Choose a shutter speed target based on movement level.
- Let ISO move as required to reach correct exposure.
If your camera offers an automatic ISO range, limit it to a comfortable maximum so your images remain usable. If you’re not using auto ISO, watch the shutter speed and raise ISO as soon as you see your shutter speed falling below your chosen threshold.
Slower shutters: how to use them creatively
Sometimes you’ll face very dim conditions and slow-moving subjects, such as a stationary elephant or a resting leopard in shade. Slower shutters can work when motion is minimal, but the risk is still camera shake and subtle movements (breathing, head turns, ear flicks).
When the subject is mostly still:
- keep your body position stable
- use burst sparingly and aim for moments where the head pauses
- consider slightly wider framing so you don’t need extreme cropping
If you’re photographing a moving subject in low light, slower shutters will often shift you from “wildlife portrait” sharpness to “interpretive motion.” That can still be artistic, but it’s a choice, not an accident.
Practical Starting Points by Species and Scene
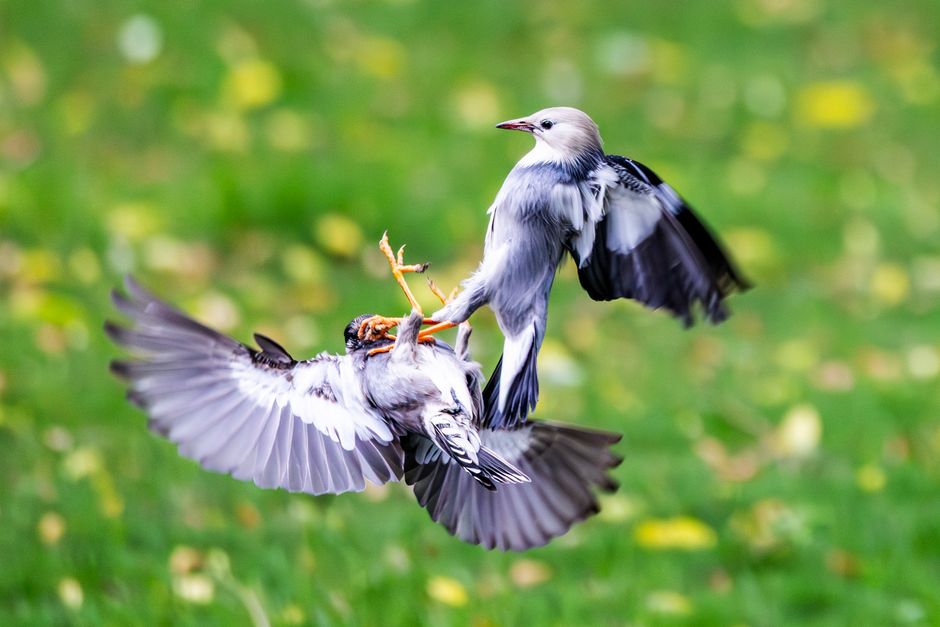
Lions, zebras, and giraffes on the move
Different species move differently, even when they’re all “wildlife action.” For example, lions can move with short bursts—an alert stand, a few steps, then stillness. Zebras may transition from grazing to brisk walking more frequently. Giraffes can move more smoothly but still require adequate speed for sharp neck and head detail.
During a drive in places like Serengeti National Park or Maasai Mara National Reserve, a good general strategy is to keep your shutter speed ready for sudden movement:
- Start around 1/500s for alert, walking behavior.
- Jump to 1/1000s when you see a sprint, a sudden lunge, or a fast head turn.
If your lens is long and you’re seeing shake, don’t be afraid to bias toward faster shutter speeds, even if that means higher ISO.
Cheetah and leopard: quick behavior, tight windows
Cheetahs and leopards often create the hardest challenge because their best moments can be brief and their movement can be erratic. In parks such as Chobe National Park or Kruger National Park, you might encounter cheetahs in open areas where the light changes quickly, and leopards where branches complicate the scene.
For these moments, prioritize shutter speed over everything else. A reliable approach is to treat “possible action” as action:
- keep shutter speed at 1/1000s if you’re waiting for a burst of motion
- use continuous AF, and aim focus where the head and eye will likely land
- shoot short bursts as the subject commits to movement
If you’re using panning for a moving leopard (for example, along a vehicle track or tree line), test whether 1/500s to 1/800s gives enough head sharpness without freezing the entire scene unnaturally.
Elephants: protect the eyes, adapt the speed
Elephants often provide a mix of moments: slow walking, dramatic posture changes, and occasional quick head movements. From a vehicle, they can also be close enough that you’re filling the frame with texture and eyes—where sharpness really matters.
In Etosha National Park, you may find crisp morning light that helps, but also sudden changes when animals step into shade. A practical approach is:
- use 1/500s when the elephant is walking steadily
- move toward 1/800s–1/1000s if the head is actively swinging or the animal is turning
If the elephant is calm and you’re composing a portrait with minimal movement, you can drop shutter speed slightly, but keep an eye on tiny motion in the trunk and ears.
On-Drive Habits: Review Fast, Stay Ethical, Improve Results
Check focus and exposure in seconds
Even with great settings, autofocus can occasionally lock slightly off the eye, or the exposure may fall short in heavy shade. Use quick playback checks that don’t slow the drive:
- zoom in briefly to confirm the eye is sharp
- look for blown highlights on light-colored fur or dust-bright scenes
- review only after bursts, not while the animal is actively moving
If focus is missing, don’t immediately change everything. Adjust one variable at a time: confirm continuous AF mode, reposition the focus point, or increase subject tracking sensitivity if your camera offers it.
Safety and respect: keep wildlife and people first
Safari photography works best when you’re part of the experience, not an interruption. Always follow ranger guidance and vehicle rules, especially when animals are close. That protects both the wildlife and everyone on board.
A good on-drive checklist:
- keep a respectful distance and avoid blocking the animal’s path
- don’t pressure wildlife for a shot (no rushing, no revving, no baiting)
- keep noise and movement inside the vehicle controlled so the driver can focus
This matters because stress from repeated disturbances can reduce natural behavior, which also reduces the odds of getting authentic, high-quality images.
Plan ahead so you’re ready when the moment hits
Game drives reward preparation. Before you start chasing fast shutter settings, set yourself up so you can react quickly:
- know your lens range and where you typically frame the head/eye
- choose one shutter-speed “home base” for action, then adjust only when needed
- keep ISO behavior predictable (auto ISO with a max, or manual with a planned ISO ladder)
When the light is fading at dusk, you’ll make better decisions by sticking to a shutter-speed target and allowing ISO to rise rather than letting shutter speed fall too far.
Overall, the best wildlife photography settings for a game drive come down to one clear principle: match your shutter speed to the animal’s movement first, then use aperture and ISO to get exposure. When you also combine continuous autofocus, short bursts timed to the vehicle’s steadier moments, and a consistent low-light workflow, you’ll protect sharp eyes and keep your photos reliable from sunrise to the last light of evening.
Leave a Reply