If you're planning a safari trip, you might be wondering how you can make your experience more sustainable.
On safari, sustainability includes protecting wildlife and communities, but it also means protecting the gear you’ll rely on for years. If dust or drizzle forces your camera out of action, you lose moments and waste time improvising in tough conditions.
This guide covers practical field-tech for keeping your camera and lens usable in savanna dust and rainforest mist: lens-front management, seals, cleaning tools, rain covers, and safe condensation control so you can keep shooting without risking your equipment or the animals around you.
Understanding Safari Weather: Dust, Drizzle and Humidity

You’ll notice the pattern quickly in very dry areas such as Etosha National Park and in the drier stretches of the Serengeti ecosystem. Dust can also settle on the outside of rain covers or bag zippers, so even when the camera feels protected, the front end can still pick up grit when it’s removed.
Rain, drizzle and mist: condensation risk
Drizzle and mist create a different threat: condensation. Even when you never get direct water on the lens, humid air can cool the front element faster than the internal air, especially when you move from sun to shade, or from a vehicle to a lodge corridor. Condensation can start as a faint haze and then worsen, blurring images and potentially affecting electronics if moisture persists.
This is a common challenge in regions that can feel humid and changeable, from parts of Kruger National Park to the wetter edges of the Okavango Delta.
Why gear fails on safari even when it looks “okay”
The most expensive-looking failures are often “quiet” ones. Dust on a filter or front element reduces contrast and can get dragged across the glass when wiped too aggressively. Moisture that seems to clear may return later when the camera is powered on again. The goal, therefore, is not only to prevent damage, but to keep your optics readable and your camera operating normally throughout a long day outdoors.
Build a Dust- and Drizzle-Safe Kit

Before leaving for safari, practice closing every port and cover one more time. If your setup includes interchangeable lenses, make sure the lens mount is clean and free of lint before you begin daily shooting.
Wipes, swabs and air: choosing the right cleaning tools
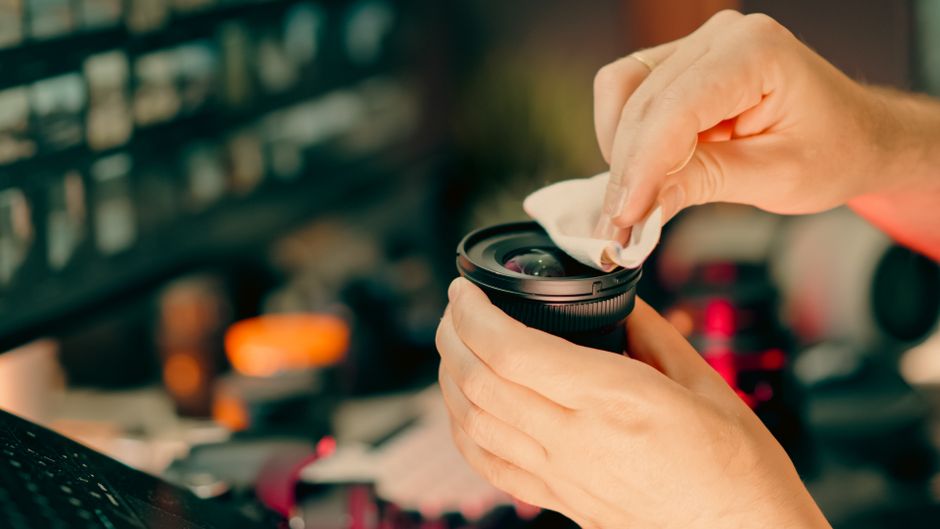
Cleaning tools matter because the wrong method can grind dust into coatings. Use a gentle sequence: remove loose particles first, then wipe only what remains, and finish with careful microfibre handling.
A small, dedicated kit also reduces “on-the-spot” mistakes in dust or mist where you might otherwise wipe with a cloth you can’t see is dirty.
Rain covers and carry systems that don’t fight the workflow
Rain covers should be easy to deploy one-handed while you stay seated and steady in a vehicle. Ideally, choose a cover that allows access to controls without pulling the camera out into mist. The carry method is just as important: if you set the camera down with the lens facing upward, dust and droplets collect on the glass.
A practical kit setup looks like this:
- A blower (for dry dust first) and/or a lens brush with soft bristles
- Microfibre cloth(s) used only for optics, plus a second “dirty” cloth for exterior handling
- Lens-safe pre-moistened cleaning wipes or a fingertip-sized solution cloth for smudges (used sparingly)
- A rigid or padded pouch that can keep the camera protected when not actively shooting
- A rain cover sized to fit your camera + lens, with clear access points
- Optional: a protective filter you’re comfortable cleaning frequently (only if it suits your lens and shooting style)
Field Technique for Lens-Front Management

When you’re not actively photographing, keep the lens cap on (if practical) and keep the camera inside your protective pouch. When you do need to shoot, mount your camera quickly, compose, and shoot, then return it to the pouch before the vehicle moves on or when the scene is not requiring immediate action.
This matters on safari because you’re often shooting through gates, bridges, or vehicle transitions where dust clouds or mist can appear suddenly. Managing lens exposure reduces both the “landing” of particles and the number of times you need to wipe.
Swapping lenses and filters without fogging
Lens swaps are one of the easiest ways to invite both dust and condensation. Aim to swap lenses in the most controlled environment you can: out of the direct wind, out of heavy mist, and away from sudden temperature swings.
A useful approach is to stage lens changes:
- Keep the spare lens in its own bag or wrap until the moment you swap.
- If conditions are humid or cooling, avoid opening everything at once. Work efficiently and keep the camera pointed downward when possible so airborne moisture settles away from the mount.
If you suspect fogging, don’t force the issue by wiping a hazy surface. Continue shooting only if the image is sharp. Otherwise, pause exposure and let the camera and lens return to a stable temperature.
Managing airflow in jeeps and boats
Open vehicles and river cruises create airflow that moves dust across the lens and can carry mist droplets into vulnerable gaps. If your camera is exposed, airflow accelerates the buildup on the front element.
Practical habits help:
- Position your lens so it faces away from the densest dust plume when the vehicle slows or turns.
- Use the vehicle’s stability. Leaning out to shoot may increase your exposure time, and it can also compromise safe spacing from wildlife and pedestrians.
- Avoid resting the camera on dusty surfaces between shots; rest it inside the pouch with the lens covered.
Shoot Through Drizzle and Mist Without Damage

Check the fit before the day starts: the cover should allow access to the focus and zoom controls without repeatedly peeling it back. When you open it for a shot, re-seat it smoothly to avoid letting humid air and droplets in.
Also remember optics hygiene: a cover that’s dusty on the inside can transfer grit to the lens when you remove it.
When to pause: condensation timelines in real time
Condensation often shows up as a soft haze rather than dramatic droplets. If the image gets suddenly hazy, stop and assess.
The safest field move is to bring the camera into a sheltered micro-environment (your pouch or a covered compartment) and let it warm or dry gradually. If possible, allow time before removing the lens from the camera body. Rapid temperature changes and repeated switching between “inside cover” and “outside cover” can worsen fogging.
Quick protection for front elements during savanna stops
Safari stops vary from quick wildlife viewing to longer walks. During short pauses, you can protect the lens front without losing shooting momentum.
A simple workflow helps:
- Keep the cover ready or the lens cap available so the lens is never left uncovered while you step away.
- If the vehicle door opens or the group moves, transition the camera into the pouch first; then re-shoot once the scene is stable.
This respects both wildlife and other travellers. When you manage gear smoothly, there’s less time spent leaning over edges or obstructing pathways where people and animals are present.
Cleaning, Drying and Maintenance After You’re Back on the Road
Safe cleaning order for dust and residue
After a dusty outing, cleaning should follow a gentle order: remove loose particles first, then wipe carefully. Rubbing dust directly across the glass can leave fine scratches or create a permanent “matte” look on coated surfaces.
If you used a protective filter, it may be the part that needs cleaning most often. Keeping your effort on the filter can reduce wear on the lens front element. That said, don’t over-clean. Clean only when needed, and use the optics sequence: air/blower, then microfibre, then any wet wipe only if smudges remain.
How to dry gear after misty days
When drizzle or mist is involved, drying is more about stability than speed. Fast heat can stress materials and worsen condensation trapped inside sealed areas.
Aim for gradual drying in a sheltered place, with the camera powered off and batteries handled normally for safety.
If you have access to a dry, indoor environment, open the lens cap and allow the camera to rest until the surfaces no longer feel damp. Don’t store it immediately in a damp pouch.
A sensible post-session routine is:
- Power off and pack the camera in a breathable, dry area, not directly under strong heat
- Clean dust first (dry method), then address any remaining smears
- Let the camera and lens acclimatise before packing them away for the night
Storing cards, batteries and accessories responsibly
Dust and moisture don’t stop at the lens. Cards, battery compartments, straps, and body creases can collect contaminants, and they can carry moisture longer than the eye expects.
Keep spares in sealed containers if the weather is humid, and check that any battery doors or accessory covers were closed during the day. In the morning, open pouches carefully to avoid “dust blasts” into the camera front.
Overall, if you treat your camera like a living part of your safari kit—exposing the lens only when shooting, using seals and covers correctly, cleaning with the right order, and letting condensation settle gradually—you’ll protect image quality and keep your gear dependable. That means more time behind the viewfinder, fewer interrupted moments, and safer, more respectful wildlife viewing throughout the trip.
Leave a Reply