
If you're photographing wildlife from a canoe, you know motion blur can ruin the shot.
This guide helps you photograph wildlife from African river safaris with sharper results, focusing on the specific causes of blur: subject motion (wildlife that moves fast) and camera motion (a canoe that rocks, paddles that shift weight, and uneven footing). You’ll learn shutter-speed choices, stabilization settings, and lens and placement tips that work across popular waterways and river systems.
You’ll also get a quick reality check on wildlife welfare and safety, because the best “sharpness” is useless if the animals are stressed or the boat position becomes risky. Whether you’re aiming for a portrait of hippos in the water, the flash of a kingfisher near the bank, or the stillness of an elephant at the shoreline, the same core techniques apply.
Master Shutter Speed for Ripples and Rapid Motion

Use fast minimum shutter speeds
Motion blur happens when the camera records too much movement during the exposure. On a river, two movements matter at the same time: your subject may be moving (walking, striking, flapping), and your camera is moving (boat rocking, slight body sway, paddle-related shifts).
A good starting point is to choose a shutter speed fast enough for the subject first, then consider camera steadiness as a second factor. As a baseline for moving wildlife from a canoe, aim for shutter speeds in the “fast action” range and adjust upward when the animal is erratic or close to you.
- Slow, mostly static scenes (a relaxed animal at rest): 1/500s–1/800s
- Walking, swimming, or obvious movement: 1/1000s or faster
- Sudden bursts (take-off, head strikes, jumping fish): 1/2000s–1/3200s
- Very close, very fast action: 1/3200s+
If your camera’s exposure (ISO and aperture) can’t keep up at those speeds, that’s normal on rivers where light changes under cloud cover and across sunlit water. Treat ISO as a tool to buy shutter speed rather than as a quality “penalty” you must avoid.
Choose Continuous AF and burst timing
Freezing motion doesn’t start only at the shutter speed; it starts with focus that keeps up. Use your camera’s continuous autofocus mode (often called AF-C or similar) and a focusing area option that matches your subject size. When animals are moving across the frame—common along the edges of Chobe National Park or Moremi Game Reserve—continuous tracking and short bursts typically give better keeper rates than single-shot focus.
Burst shooting helps because wildlife movement is unpredictable. A single frame may land during the “worst” moment (tail flick mid-splash, wing downstroke, head turning away), while a short sequence increases the chance that one frame catches the animal sharpest.
Expose correctly for fast shutter speeds on water
Water introduces two issues that affect blur: glare and contrast swings. Sunglint can fool your metering, and fast shutter speeds can force the camera toward higher ISO, which is fine as long as exposure is reasonable.
Use an exposure mode you can control quickly—Manual or Aperture Priority with exposure compensation are common approaches. If you use Aperture Priority, bias exposure compensation toward slightly brighter (or slightly darker) only after checking the histogram or blinkies, because boats and riverbanks can cause the meter to “chase” the brightest patch of sky or water.
Avoid relying on long shutter speeds “to get more light.” On a moving platform, longer exposure equals more blur even if the subject seems still.
Stabilization and Support Systems for Uneven Canoes
Decide when stabilization helps (and when it doesn’t)
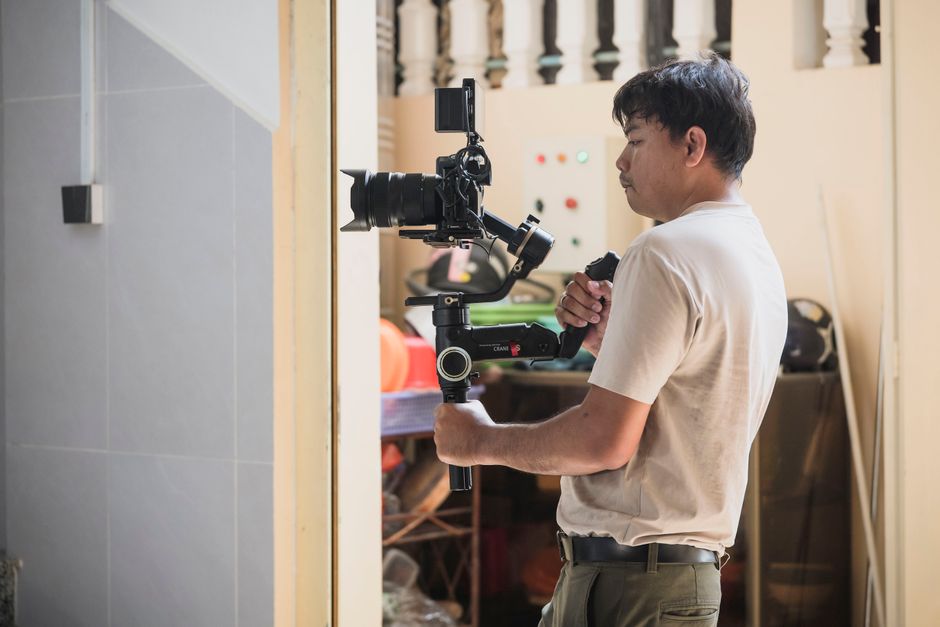
Image stabilization can reduce blur from your own movement, but it cannot freeze wildlife motion. The key is to use stabilization as a support for steadiness, not as a substitute for shutter speed.
On many lenses and camera systems, stabilization works best for static subjects or slow panning. With telephoto lenses, stabilization often helps when you’re holding a shot steady through the rocking motion of the boat. If your setup is actively panning to follow a moving bird, some systems can behave better with stabilization turned off or switched to the appropriate mode. The most practical approach is to test on your camera and lens combination before you’re on the river.
Handle rocking with body positioning, not just your hands
A canoe’s movement is rarely uniform: it may pitch, yaw, and settle between paddle strokes. The camera shake you feel is often amplified by how your body moves.
Try to keep your center of mass stable and avoid reaching far to frame the subject. Keep elbows closer to your body, tighten your grip so the camera moves as one unit with your torso, and use smooth breathing rather than sudden body adjustments.
If you’re using a long telephoto, weight distribution matters. An abrupt twist to track movement can create both angular blur and a delayed focus response. Instead, rotate your upper body and shoulders together, then allow the lens to track across the frame.
Use safe “resting” techniques when the canoe allows
Some stabilization gains come from reducing the amplitude of your own movement. If there’s a safe point where the camera can rest without unsafe leaning or blocking your view, it can help. Examples include bracing lightly against a stable part of the canoe or using a monopod only when conditions and local guidance make it appropriate.
Be cautious with any equipment that could snag on gear lines or interfere with paddling. Safety and wildlife welfare come first: if resting the camera means you shift position dangerously, it’s not worth the theoretical sharpness.
Lens Choice and Where to Position Yourself
Use focal lengths that match how close animals approach
From a canoe, distance is dynamic. Animals may approach quietly near the edge of the water or remain farther back, especially in larger river systems such as Lower Zambezi National Park.
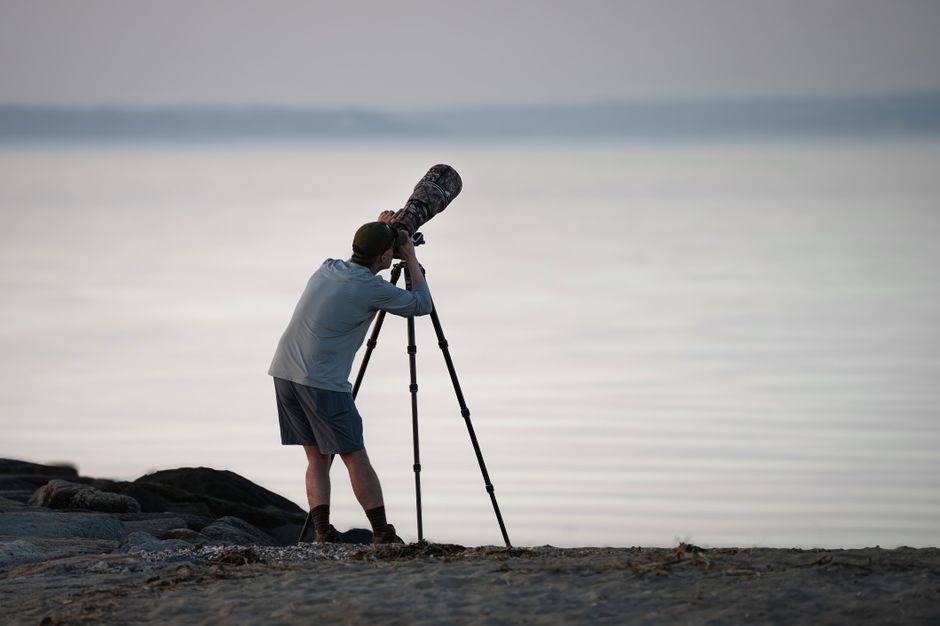
In practice, a versatile telephoto zoom gives flexibility because you can reframe without changing lenses (which takes time you may not have). When wildlife is close to the boat, too-long focal lengths can exaggerate small movements, increasing blur. When wildlife is farther away, too-short focal lengths force aggressive cropping, which reduces apparent sharpness.
A simple rule: choose a focal length that keeps the subject large enough in the frame to avoid heavy cropping, while still allowing you to maintain stable tracking as the boat moves.
Place yourself for smoother tracking
Where you stand or sit changes how your camera moves. Position the camera so you’re not constantly fighting a twisting torso. Aim for a stance where you can track in a single continuous motion rather than repeatedly stopping and starting.
Also consider how you face relative to the current. If you’re shooting into the stronger angle of movement, the canoe may rock differently, and that can affect stabilization and tracking.
Finally, keep your body between the camera and the edge where water spray or sudden shifts could reach the lens. Protecting your lens isn’t just about cost; it’s about keeping the camera usable so you don’t miss the moments that matter.
Protect gear from spray and uneven light
River environments bring fine spray, misty mornings, and sudden patches of bright sun. Use lens hoods to reduce flare when shooting toward reflective water. Keep a rain cover accessible, and dry the front element gently if moisture lands on it.
Uneven light also affects blur because your camera may adjust exposure automatically. If you’re in auto ISO or semi-auto modes, watch how the camera responds when the canoe moves between shade and sun. A sudden exposure shift can change your shutter speed, which can quietly reintroduce motion blur.
Reduce Blur Without Disturbing Wildlife

Predict motion patterns, then time the shutter
Sharpness improves when you anticipate. Many river animals have repeatable movement sequences: fish-eagles may pause before a dive, kingfishers often scan then strike, and crocodiles may shift their body before a splash.
Instead of reacting to the moment the motion begins, start shooting as soon as the animal transitions from “waiting” into “action.” With continuous AF and bursts, the camera can capture the critical fraction of a second when wings flare, jaws open, or the head turns toward the water.
This approach often improves results more than any single setting tweak.
Follow canoe etiquette: distance and quiet approach
Wildlife welfare matters because stress changes behavior and makes it harder to photograph naturally. Keep a respectful distance, avoid sudden movements, and follow the guide’s instructions about when to paddle closer and when to hold position.
In places like Okavango Delta and Chobe National Park, animals can be accustomed to boats, but that doesn’t mean they want pressure. If an animal changes direction repeatedly, moves away, or shows signs of alert agitation, it’s time to reduce disturbance and give space.
Put safety first around hippos and crocodiles
Some of the most dramatic moments on a river safari involve animals that are powerful and unpredictable. Hippos and crocodiles can move quickly in water and can be close enough to your canoe to create real risk if you reposition without checking conditions.
For safety and welfare:
- Keep the camera ready but avoid standing to shoot over the gunwale.
- Don’t angle the canoe toward animals just to improve the shot.
- Follow all park and guide rules for approach distances and timing.
The best wildlife photographs often happen when the boat remains stable, the crew follows the correct approach, and the photographer can shoot from a secure position.
Plan Your River Safari Shoot for Sharp Results
Choose the right time for light and calm water
On river safaris, water conditions change throughout the day. Early and late light can be lower-contrast and more forgiving for autofocus, but it may also reduce shutter speeds if you’re not careful. Midday sun can be bright but creates glare and harsh reflections off water.
Look for a balance: moments when light supports your shutter speed targets and the canoe isn’t battling strong, choppy movement. In many systems, riverbanks and wind exposure determine how stable the platform feels, so plan to adapt rather than assume the “perfect” conditions will last.
If you’re photographing birds along the bank in South Luangwa National Park or tracking wildlife across the water in Lower Zambezi National Park, treat wind and current like part of your exposure settings.
Build a repeatable shooting workflow
Motion blur control is easier when your camera workflow is consistent. Before the action begins, confirm a few basics and then stay ready.
A practical workflow:
- Set a shutter speed you can live with for most action (often in the 1/1000s+ range).
- Use continuous autofocus and your preferred tracking area.
- Choose burst mode so you can fire short sequences as action starts.
- Check exposure (especially ISO) so the camera doesn’t silently drop the shutter speed.
As you gain experience, you’ll also learn which animals are likely to be fast and which are likely to be steady. That helps you avoid changing settings mid-action, which is a common reason blur shows up.
Review and refine after each outing
Sharp wildlife photography is a feedback loop. When you review images, pay attention to the type of blur:
- If the entire frame looks smeared, it’s often too-slow shutter speed or too much camera movement.
- If the background looks sharp but the subject is blurred, the shutter speed is likely too slow for subject motion.
- If focus looks “almost there” but not crisp, autofocus tracking or focusing area choice may need adjustment.
Use those clues to refine your next river session. Over time, you’ll start to predict which scenes will require higher shutter speeds for crisp detail, especially when elephants move along the shoreline or when kingfishers strike in a split second.
By following these shutter-speed, stabilization, lens, and positioning principles, you’ll dramatically reduce motion blur and improve your odds of sharp, natural-looking wildlife photos from Africa’s river safaris. Just keep the priorities clear: freeze motion with the right exposure settings, stabilize your own body without unsafe bracing, protect your gear, and respect wildlife welfare so you can keep photographing what makes the river so unforgettable.
Leave a Reply