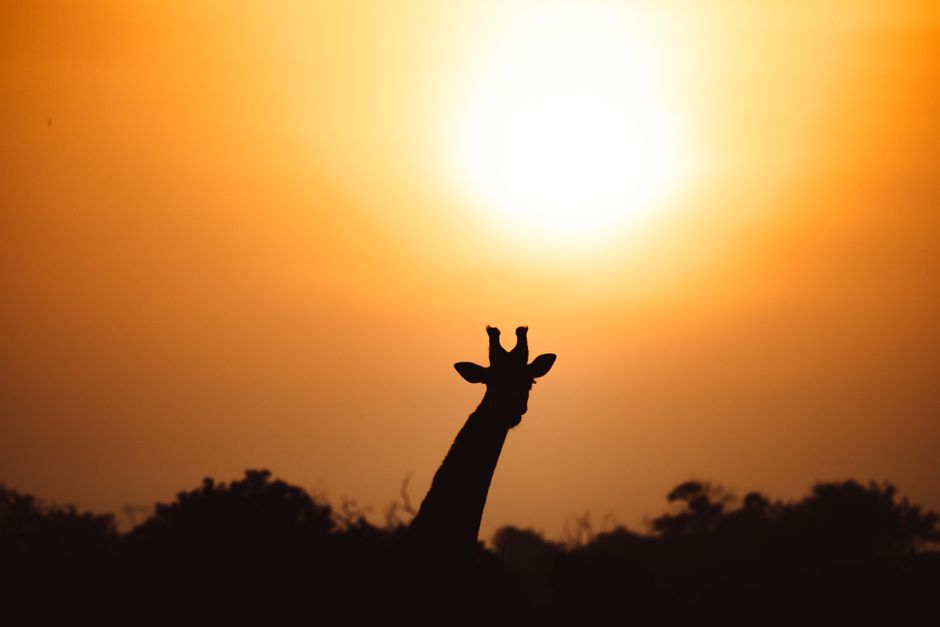
If you're planning a safari trip, you might be wondering how you can make your experience more sustainable. One important part of that is respectful wildlife viewing, including how you position yourself and how you handle your camera.
This guide focuses on photographing African wildlife at dawn and dusk without harsh contrast. You will learn the metering and exposure basics that work in low sun angles, how to control backlit silhouettes so they keep detail, and how to make sure shadow and highlight areas both hold up.
Rather than chasing “perfect” settings, the aim is consistency: use repeatable exposure logic, check your histogram, and adjust for changing light while your subject is still moving.
Why Dawn And Dusk Challenge Your Camera
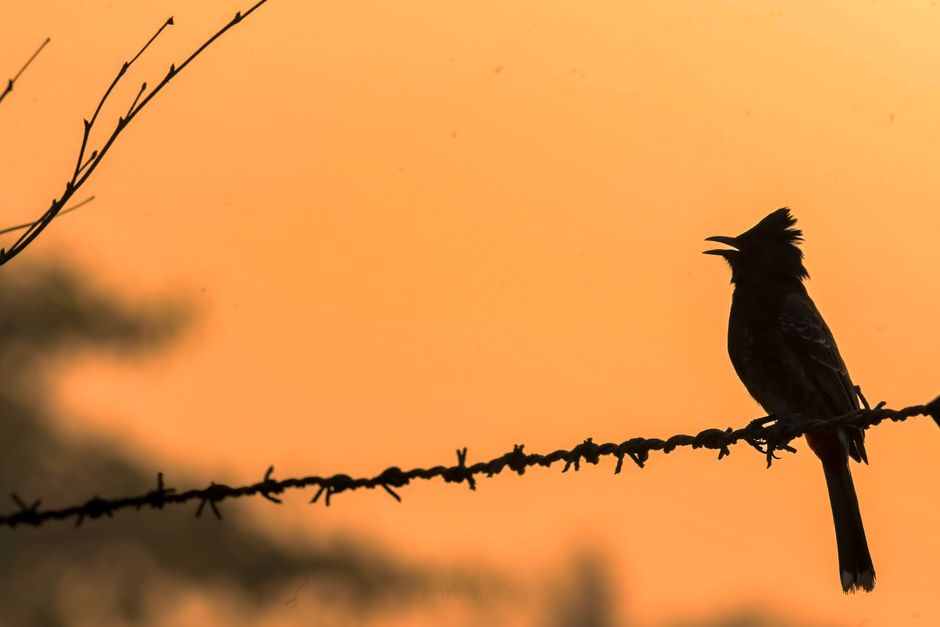
Low Sun Angles Change Exposure Fast
At first light and near sunset, the sun sits low enough to create strong gradients across the scene. The difference between the bright sky and the darker animal can be extreme, even when the landscape looks “even” to your eyes.
On safari, the challenge is compounded by movement: animals shift position, clouds drift, and your angle changes as you follow the guide’s track. Any metering system that tries to average the whole frame can swing exposure from one minute to the next.
Dynamic Range: Shadows vs Highlights
Your camera records a limited range of tones. If you expose for the shadows, bright parts of the sky or sunlit grass can clip to pure white. If you expose for the highlights, the subject can sink into deep shadow and lose fur or feather texture.
At dawn and dusk, the safest path is to decide what must stay detailed, then expose accordingly. In most wildlife portraits, you want the animal’s face, eyes, and closest fur or feather edges to look natural.
Backlight Creates Silhouettes (And Hidden Detail)
Backlighting is common at golden hour, especially when you photograph with the sun behind the subject. Silhouettes can be stunning, but they are not the only option. With correct exposure and careful metering, you can keep edge detail in hair, maintain readable feather structure, and still preserve a warm rim light effect.
Metering And Exposure Basics For Wildlife

Choose a Baseline: Manual With a Reliable Reference
The simplest way to avoid random exposure shifts is to set a baseline exposure and then refine it. For many safari photographers, manual exposure with ISO set to Auto (and a cap you control) is a practical compromise: shutter speed and aperture stay fixed for your creative and sharpness needs, while ISO adjusts to changing light.
If your camera offers a histogram and highlight warnings, this approach becomes even more predictable. It also helps when you reframe quickly as animals move.
Use the Histogram, Not the Screen Brightness
The rear screen can be misleading in bright dawn air or when glare hits the LCD. Instead of judging by screen brightness alone, use the histogram and highlight warnings.
A good goal at golden hour is: protect the brightest areas first. In backlit scenes, that often means the sky or sunlit edges. If your highlights clip hard, the image will look harsh even if the subject looks okay.
Metering Modes and How to Read Them
Evaluative/matrix metering tends to average the whole frame. That can push exposure down when the sky dominates, or up when the subject occupies more area.
Spot or center-weighted metering can help when the subject’s face is clearly defined, but it can be unreliable if the chosen point lands on bright rim light or specular highlights. If you use these modes, base your exposure on a consistent reference: for example, the mid-tones around the face or the darkest fur area that still shows texture.
A useful habit is to “meter, then lock in.” Take a reading from the subject area you trust, then switch to manual exposure (or use exposure compensation) so your camera stops recalculating every time the animal turns.
Settings That Keep Detail In Both Shadows And Highlights
Expose for the Subject, Then Protect Highlights
To reduce harsh contrast, aim for a balanced exposure that keeps the animal’s texture readable. In practice, this often means slightly underexposing the sky while lifting the subject enough to avoid muddy shadows.
For backlit wildlife, the sky will always be bright. The goal is to ensure the animal’s face and nearest contours are not crushed. If the subject area is too dark, adjust exposure upward in small steps while watching the highlight warning.
If you are shooting RAW, minor highlight clipping is easier to manage than deep shadow banding. That said, avoid heavy clipping in the first place by checking your highlight alerts.
Lock Shutter Speed for Sharpness, Then Shape Exposure
Wildlife motion is not optional. Even at dawn, a breathing animal moves, a tail flicks, a bird shifts stance, and hooves step forward.
Start with shutter speed priorities, then adjust exposure around that. For larger animals walking or turning, a faster shutter speed typically preserves detail in eyes and edges. For birds, even a small head movement can blur without enough shutter speed.
A field-friendly approach is:
- Set your shutter speed for sharpness first.
- Choose an aperture that gives sufficient depth of field for your subject’s head and shoulder region.
- Adjust exposure using ISO (or exposure compensation if you are not in manual).
Keep Flare Under Control in Golden Hour
Low sun angles can bring flare and haze, which reduce contrast and make images look washed or “crunchy” in the highlights. A lens hood helps, and keeping the sun just outside the frame often reduces flare while preserving rim light.
Also watch for glare hitting the front element during reframe. If your subject steps between you and the sun, exposure and contrast can change instantly. In those moments, check the histogram again and adjust before continuing the burst.
Photographing Backlit Subjects: Silhouettes With Control

Decide When Silhouettes Are the Point
Silhouettes work best when the subject’s shape is strong and the environment adds mood. If the goal is a cinematic outline of a standing animal, you can allow the face to go dark.
If you want visible fur texture on a lion, readable ear edges on an African elephant, or feather detail on a lilac-breasted roller, then you need to expose more like a portrait than a landscape. The same composition rules apply, but the exposure target changes.
Backlit Edge Detail: Meter Where Texture Lives
In strong backlight, rim light can fool metering because edges look bright while the face remains darker. To keep detail, base exposure on the mid-tones of the animal, not on the brightest rim.
A practical method is to briefly align the subject so its head and eyes sit in a consistent area of the frame, then lock your exposure (or lock your exposure compensation) before the animal turns away. After that, let the autofocus do its job while you maintain your exposure settings.
This is also where your choice of aperture matters. A slightly stopped-down aperture can improve depth of field stability for wildlife that shifts position between frames.
Bracketing and RAW Workflow for Moving Animals
In theory, bracketing solves harsh contrast by recording multiple exposures. In practice, dawn and dusk wildlife often moves, which can make merged results imperfect.
Use bracketing selectively:
- Try it when the subject is likely to hold position (for example, a bird perched or a large animal standing still).
- If the subject moves, rely on RAW exposure and careful highlight protection rather than attempting heavy blending.
For most safari situations, RAW capture plus correct in-camera exposure is the most reliable workflow. After capture, recover shadows cautiously and avoid over-boosting mid-tones, which can increase noise and make contrast look unnatural.
Respectful Wildlife Viewing And Getting the Shot Reliably
Stay Back and Let the Guide Set the Pace
The best images come from calm, ethical positioning. Maintain safe distances and do not pressure the animal to change behaviour for your composition. On safari roads, respect the driver’s and guide’s rules about where you stop and how long you stay.
A moment of patience often produces better light and better subject behaviour than a rush to get the sun angle you planned.
No Flash, Minimal Disturbance, and Ethical Positioning
At dawn and dusk, using direct flash can stress wildlife and can also damage the natural light look you are trying to capture. Instead, let available light do the work and use camera settings that preserve detail.
If you are photographing birds and small animals, avoid blocking sightlines or moving suddenly. Move slowly, keep your bag close, and consider where your shadow falls when you are close to the subject.
Plan Your Practice Around Real Safari Light
The light at sunrise and sunset is short-lived. Build a simple field routine so exposure decisions are quick and consistent.
Start by identifying where harsh contrast will come from: bright sky behind the subject, sunlit grass near the animal, or reflected light off water. Then pick your exposure approach and stick to it:
Serengeti National Park and Maasai Mara National Reserve often bring open-horizon sky drama at first light, while Kruger National Park can give both bright savannah edges and darker woodland pockets. In the Okavango Delta and Chobe National Park, haze and water reflections can complicate contrast. Hwange National Park and Etosha National Park can offer clear skies but still produce strong gradients when the sun strikes dust and grass.
On your next session, practise with one named subject so you learn how your camera responds: an African elephant turning into rim light, a lion’s face in shadow behind the mane, a giraffe’s neck against bright sky, zebra stripes sliding between bright and dark grass, or a lilac-breasted roller against a warm background. Once you know your exposure logic for these common scenarios, you will spend less time fighting contrast and more time capturing expressive detail.
Overall, if you want dawn-and-dusk wildlife photos without harsh contrast, treat exposure as a controlled decision: choose a baseline (often manual with Auto ISO), protect highlights using the histogram and highlight alerts, meter for texture instead of rim light, and keep shutter speed high enough for motion. Combine that with respectful distance and quiet positioning, and your images will look natural even when the sun is low and the sky is bright.
Leave a Reply