
If you’re a birding enthusiast, then you know that Africa is a paradise for birdwatching. But digiscoping from safari hides and boardwalks adds a layer of complexity: lighting can change quickly, motion can be sudden, and magnification makes every bit of camera shake more visible.
This guide walks you through camera settings that match common hide and boardwalk conditions. You’ll learn how to choose a shutter speed that freezes wildlife, how to set ISO and exposure so you don’t lose detail in highlights or shadows, how to stabilise effectively, and which autofocus mode works best when subjects move behind rails, reeds, or branches.
Example hide and boardwalk environments
If you want a starting point, these are the kinds of locations where lighting often drives your digiscoping settings more than the animal itself:
- Kruger National Park (bird hides and shaded viewpoints)
- iSimangaliso Wetland Park (estuary boardwalks over water)
- Lake Nakuru National Park (open lakeside areas with strong reflected light)
- Chobe National Park (riverfront viewing with dramatic sun and glare)
- Masai Mara National Reserve (game-viewing blinds with variable morning/dusk light)
- Okavango Delta (waterhole and channel overlooks with humid, low-contrast conditions)
How Hide and Boardwalk Lighting Changes Your Digiscoping Results
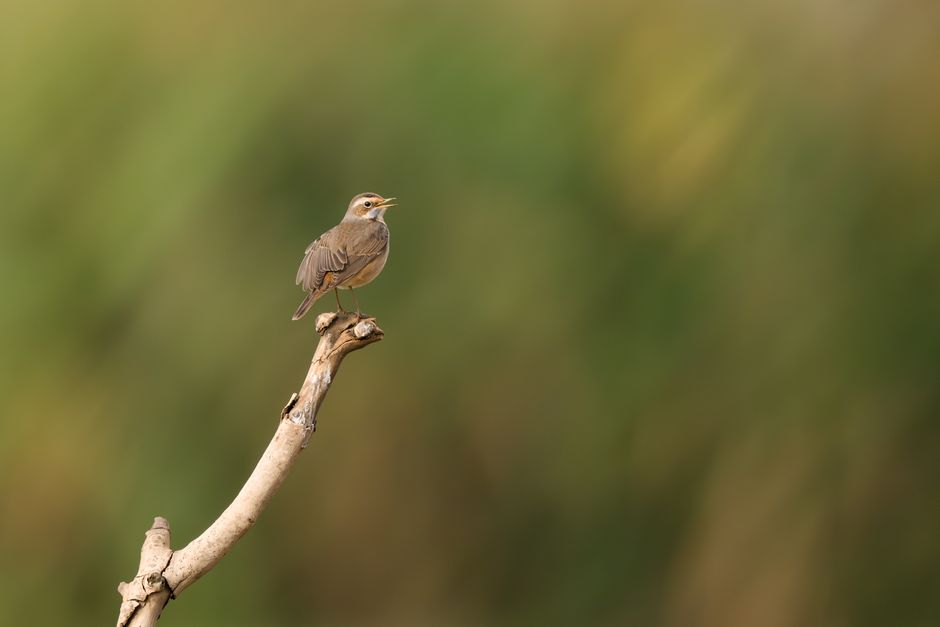
Dim shade inside hides
In many hides, the subject is outside your shelter, while the camera sits in deeper shade. This creates a high-contrast scene: bright edges and patterned sunlight outside, darker backgrounds inside.
For digiscoping, that contrast matters because your camera will try to expose for whatever it thinks is “average”. If you’re shooting auto exposure, birds and mammals can come out too dark (background overwhelms the meter) or washed out (white water, bright sky, and pale sand fool the metering).
Backlight, glare, and reflections
Backlight is common when you face into the open bush, across water, or toward a bright sky gap. Reflections from water, wet grass, and shiny railings can add glare that reduces contrast on small subjects.
When glare appears, contrast drops first, then autofocus confidence drops, and then sharpness suffers. Settings that help include slightly faster shutter speeds (to preserve micro-contrast with less motion blur), and more controlled exposure (so highlights don’t clip).
Weather and air conditions in Africa
Heat haze, mist, and humid air reduce apparent sharpness by softening the image between you and the subject. Wind can be the bigger factor around boardwalks, while heat haze often limits resolution later in the morning or mid-afternoon.
In these conditions, chasing ultra-slow shutter speeds to “save ISO” rarely pays off. A steadier platform plus a shutter speed that holds motion blur low usually produces a sharper final file than ultra-low ISO with longer exposure.
Where to Start: Matching Settings to Common Safari Light
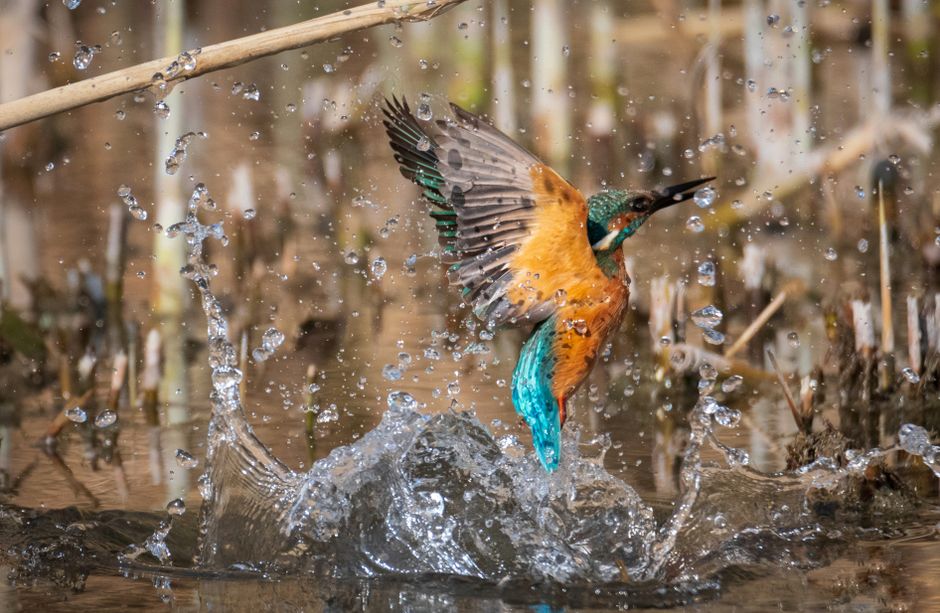
Shutter speed targets for magnified wildlife
Digiscoping effectively increases your subject magnification, so subject motion and camera shake both become magnified on the sensor. A practical approach is to set your minimum shutter speed based on how likely the subject is to move during your burst.
- For perched birds and generally calm subjects: aim for a shutter speed that’s fast enough to stop small head and wing adjustments. In practice, that usually means a minimum around the hundreds of a second (often 1/500s or faster).
- For frequent motion (birds turning, wing flicks, tail switches) or when subjects might start moving: step up to a faster minimum (commonly around 1/800s to 1/1600s, depending on your light).
- For mammals that may walk, pivot, or breathe in place: choose a shutter speed that reduces blur from body shifts. Many shooters land in the 1/320s to 1/800s range if the animal is relatively still, and faster if it’s active.
If the hide is very dim, keep the shutter speed as your priority and raise ISO rather than dropping shutter speed too far. When your magnification is high, motion blur is the enemy you can’t easily fix later.
ISO and exposure control: keep highlights and faces usable
Once shutter speed is set, ISO is your main lever. In hides, exposure can swing as clouds pass or as bright patches enter through gaps.
A reliable workflow is:
- Choose an exposure mode that keeps your shutter speed stable (either Manual with Auto ISO, or Shutter Priority with Auto ISO).
- Use aperture that matches your digiscoping setup and gives you enough depth of field for typical subject distances.
- Watch the live histogram and highlight warnings if your camera offers them.
If highlights clip, you’ll lose feather detail and facial markings that make digiscoping worthwhile. If shadows block up, the animal disappears into the background. Small exposure compensation adjustments often matter more than chasing a perfect “average” exposure.
Stabilisation: what to turn on, what to turn off
Stabilisation helps when your camera is handheld or when you’re not fully supported. In a hide, you’re commonly on a tripod, monopod, or a fixed stand with a scope.
In these cases:
- If your camera and lens/body stabilisation are optimised for handheld use, they can sometimes introduce micro-movement when locked down.
- Many systems behave best when stabilisation is turned off once the rig is firmly mounted.
- If your system has different stabilisation modes, choose the one intended for normal shooting, not panning.
The key is consistency: set stabilisation once and don’t change it every minute. Then confirm on a test frame that your image looks sharp at typical subject distances.
In the Moment: A Repeatable Digiscoping Shooting Routine
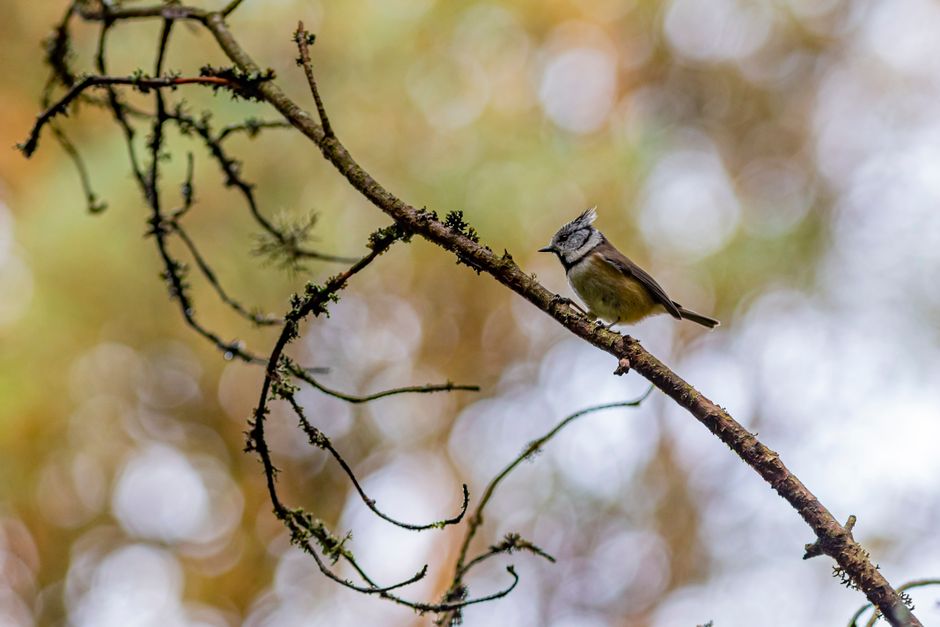
Focus the rig before the subject arrives
Digiscoping depends on precise alignment between spotting scope and camera. Spend a short moment verifying:
- the scope-to-camera connection is secure
- the eyepiece/camera focusing direction is consistent
- your focus point holds as you reframe
If your camera offers live view with magnified focus assist, use it to confirm critical sharpness on a high-contrast point (a branch edge, a feather line, or the boundary of a water ripple), then switch back to normal framing.
Autofocus mode: match it to subject behaviour
Autofocus works well in hides when you choose the right mode for the movement pattern.
For digiscoping, consider these typical scenarios:
- Perched or slow-moving subjects: single-point autofocus or a small AF area often performs best because it avoids grabbing the background when reeds or railings sit between you and the animal.
- Subjects that may move toward or away from you: continuous autofocus with tracking can help, but only if your AF system keeps lock on the subject rather than swapping to brighter background edges.
- Low contrast in mist or humid air: autofocus can “hunt”. If it struggles, switching to manual focus with focus peaking (if available) or using magnified live view to confirm sharpness can outperform continuous AF.
If your camera has “focus priority” settings (release vs focus), choose the option that prioritises focus accuracy for wildlife. Missing focus is usually more damaging than slightly slower shutter speed.
Burst strategy and shutter discipline
Use a burst approach that fits the animal’s movement rhythm. Instead of holding the shutter down for a long burst, try controlled bursts of a few frames when you see the subject’s head angle change or wings settle.
Also pay attention to shutter timing. If your camera offers electronic shutter and your image quality allows it, use it to reduce vibration. Otherwise, enable a shutter delay or anti-shock mode if your camera supports it, especially if you notice motion blur even on a stable rig.
Safety, Wildlife Welfare, and Respect in Viewing Blinds
Keep distance and avoid blocking sightlines
In a hide or boardwalk, wildlife is accustomed to visitors at a respectful distance. Treat every outing as a “quiet work session” rather than an opportunity to close in.
If multiple groups share a hide, coordinate calmly. Don’t climb over people, don’t extend equipment in a way that obstructs others, and keep your scope/camera movement slow and controlled. Fast movements can create sudden disturbances for both guests and animals.
Manage noise, movement, and gear placement
Digiscoping rigs often include tripods and long optics. That means setup needs extra care.
A simple rule: move gear before animals approach, not during peak activity. After that, make only small adjustments. If you must change settings, do it between short bursts and keep your conversation level low.
Quick safety checks that protect you and wildlife
- Keep cables and tripods clear of pathways and boardwalk edges.
- Don’t lean over rails or crowd narrow hide entrances while adjusting focus.
- Avoid shining bright lights into the viewing area, especially at dusk.
- If conditions become unsafe (wind, rain, unstable footing), pause shooting and reposition safely.
Planning for Better Results: Practice, Review, and Settings Presets
The best digiscoping settings are the ones you can apply reliably under changing light. A small amount of pre-planning turns “chaotic hide lighting” into a manageable set of choices.
Build a few exposure and autofocus presets
Instead of trying to remember everything, create two or three custom modes based on the lighting you’ll face:
- Shade-first mode: set a minimum shutter speed suited to perched subjects and rely on Auto ISO to ride through dim moments.
- Backlight/glare mode: keep shutter speed firm, reduce overexposure risk with negative exposure compensation if needed, and choose a smaller AF area to avoid background lock.
- Low-contrast/soft-air mode: consider switching from continuous AF to a focus method that’s more deliberate (smaller AF area or manual focus with magnification), and be comfortable raising ISO to hold shutter speed.
Test these presets at the start of each session using a nearby subject, then adjust based on the first few frames.
Use your review tools to fix sharpness problems fast
After a short burst, check a small set of frames. Look for:
- focus accuracy (eyes/feather lines in sharpest confirmation area)
- motion blur (sharp at one moment, smeared in another)
- highlight clipping (especially on pale plumage, water edges, and bright sand)
If your images consistently show soft focus, it’s usually not “bad camera settings” alone. It’s often focus mode selection, AF area choice, or alignment between the digiscoping adapter and scope eyepiece.
If your images show blur but focus is correct, it’s typically shutter speed being too slow or the rig not being sufficiently stable at that moment.
Keep batteries, optics, and airflow in mind
Hide and boardwalk sessions can be long, and digiscoping can be power-hungry if you use live view magnification, long video-style monitoring, or continuous AF.
Bring spare batteries and keep them warm enough to avoid sudden drops in performance. Also protect your optics from moisture: condensation happens when warm breath meets cool glass, and even a small amount reduces contrast and apparent sharpness.
Overall, the most reliable way to get sharp digiscoping results from safari hides and boardwalks is to treat shutter speed as your anchor, control exposure so highlights and feather/skin detail don’t clip, choose an autofocus approach that fits the subject’s movement, and stabilise your rig for the exact environment you’re in. When those pieces match the lighting, you’ll spend less time adjusting and more time capturing clear, respectful wildlife images.
Leave a Reply