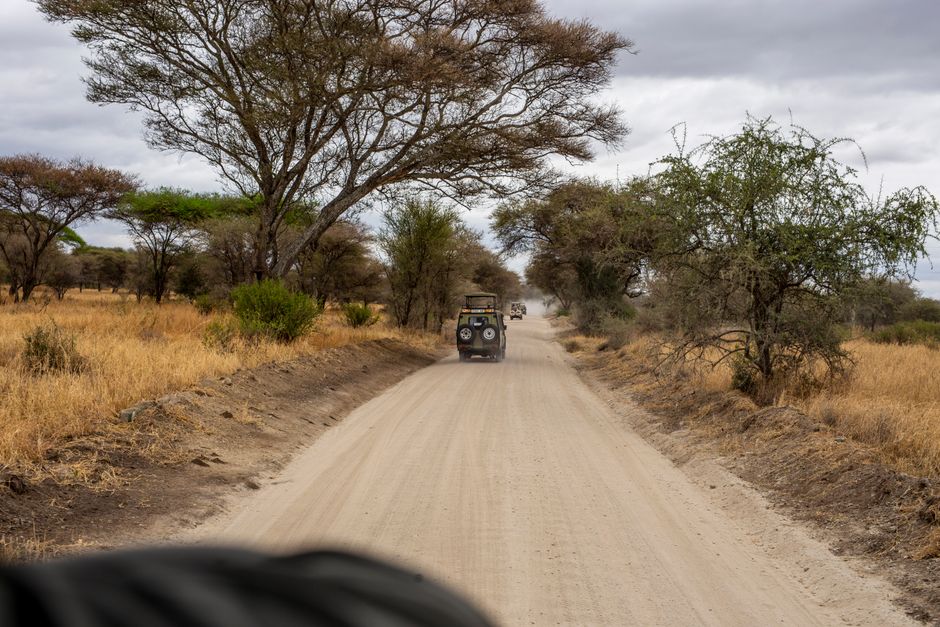
You want your wildlife photos to stay sharp, even when savanna dust and haze reduce contrast. The good news is that dust is predictable: once you adjust how you handle your lens, how you focus through haze, and how you control exposure, your keepers usually rise fast.
This guide walks you through lens-housing habits that reduce contamination, a focus strategy designed for dusty air, cleaning routines you can use between sightings, and exposure tweaks for glare, flare and dust-softened contrast. Along the way, it also keeps wildlife welfare and safe, respectful viewing at the centre of every technique.
Why Dusty Air Blurs Photos and Kills Contrast
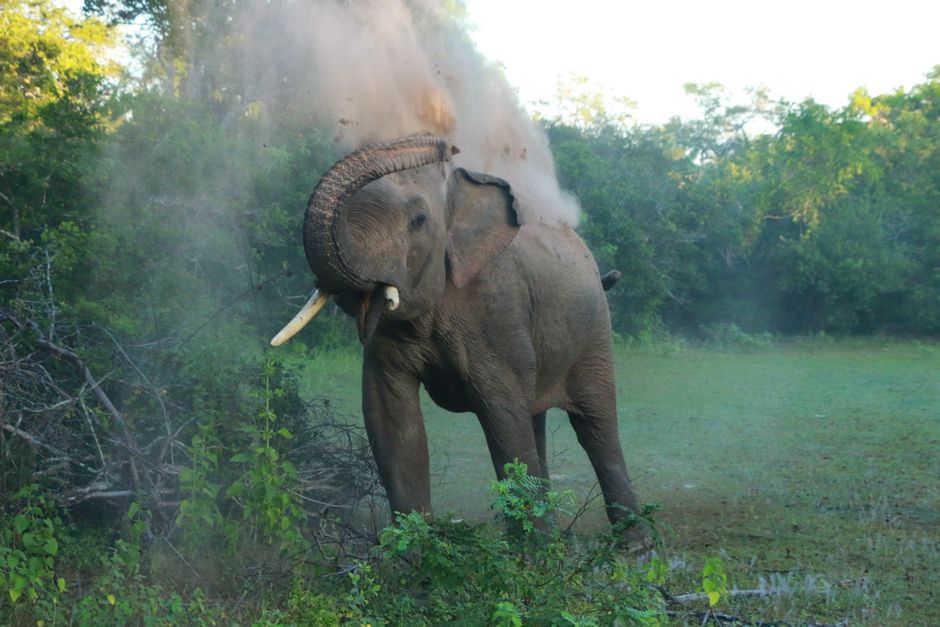
In practical terms, if images suddenly look milder after a bumpy road, you may be dealing with lens contamination. If the softness looks consistent across frames in the same dusty wind and even when the glass seems clean, atmospheric haze is likely the main culprit.
How savanna light changes during dust winds
Dust storms and wind-driven dust affect more than clarity. Backlight turns floating particles into a light source, creating flare and haze halos around bright edges. Side light can exaggerate contrast loss by widening the tonal gap between subject and background while also hiding fine detail in shadows.
The result is a common pattern: your exposure meter may look “correct”, but your subject seems flat or washed, and your autofocus may lock less confidently.
What “sharp” really means in these conditions
Sharpness isn’t only focus accuracy. In dusty savanna light you also need enough shutter speed to freeze motion and enough depth of field to cover slight subject movement. For moving wildlife, failing focus by even a small amount often shows up more than it would in clean air.
A key mindset shift helps: aim for consistent, repeatable sharpness rather than expecting one perfect setting. Dust rewards method over luck.
Where Dusty Savanna Conditions Commonly Make Focus Hard
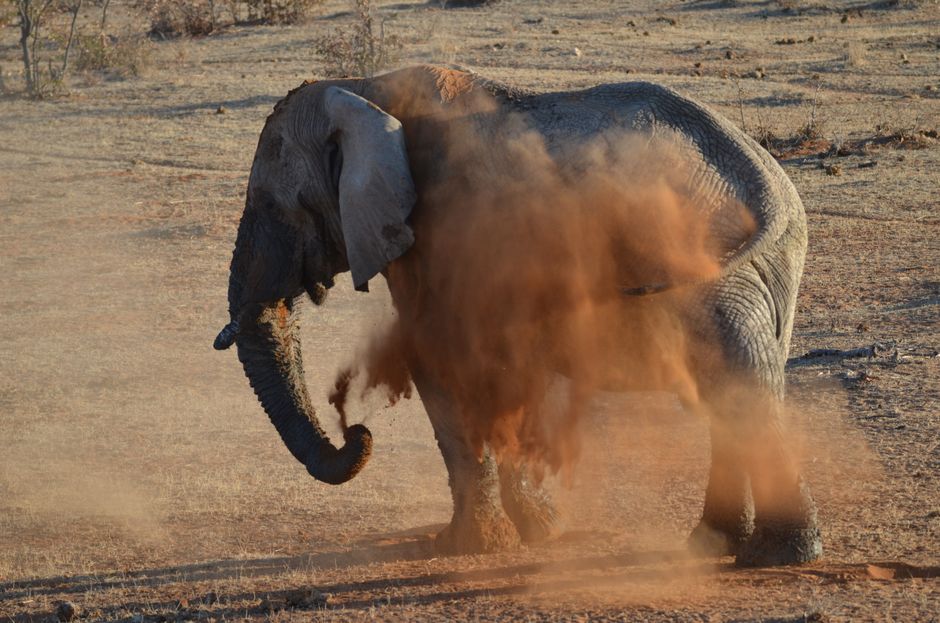
Example safari regions to anticipate dust
Plan for dust management when these environments are on your itinerary:
- Serengeti National Park (Tanzania)
- Amboseli National Park (Kenya)
- Etosha National Park (Namibia)
- Kruger National Park (South Africa)
- Hwange National Park (Zimbabwe)
Weather timing that changes the look instantly
A bright morning can be surprisingly forgiving. As the day warms, heat shimmer and stronger winds can appear, and dust can build quickly. If you notice reduced contrast through your viewfinder or live view, treat it as a cue to adjust both focus approach and exposure strategy, not just one setting.
Lens-Housing Habits That Prevent Dust Problems
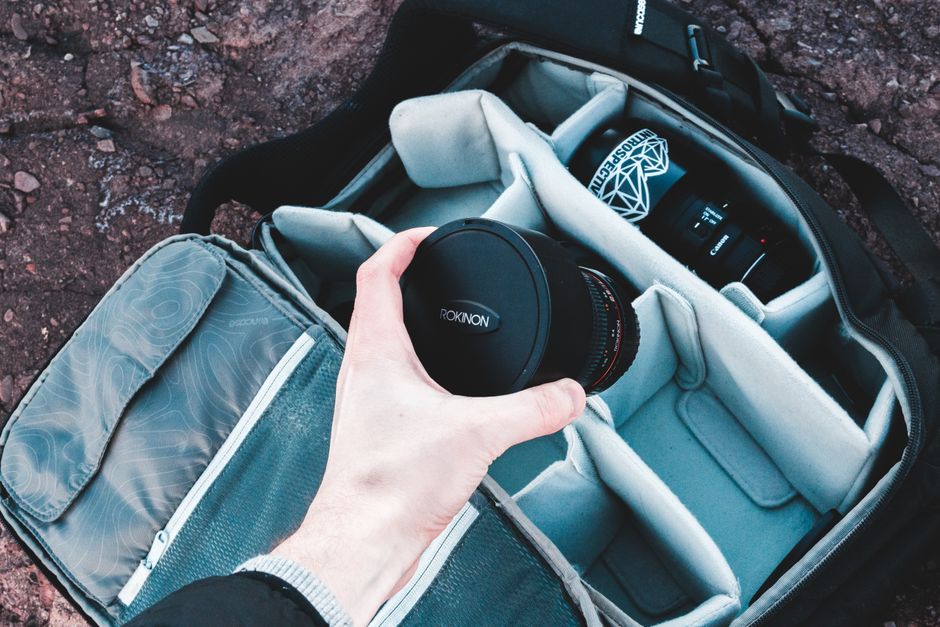
If you shoot with a filter, make sure you can keep it clean. A dirty filter behaves like a dirty lens: it adds haze and veiling glare even when the front element looks fine.
Reduce lens exposure during lens swaps and handling
Lens swaps in a dusty environment are where preventable contamination happens. If you must change lenses, do it quickly and sheltered from wind, and keep the camera pointed downwards so gravity doesn’t encourage dust to fall into the body.
Once a lens is mounted, treat the front element like a protected surface. Avoid touching it with gloves that have grit on them, and keep caps handy to cover the lens when you reposition.
Use a “clean enough” routine between sightings
Between sightings, it’s usually better to do small, frequent cleaning steps rather than wait until your pictures look unusable. Start with removal before wiping: blow off loose dust so you don’t grind grit into the coating.
A simple hierarchy works well:
- remove loose particles (blower or gentle air),
- wipe only when needed (clean microfiber in clean strokes),
- finish with a light check using live view at high magnification.
That workflow reduces the chance of scratching and keeps the glass clear without wasting time when the animal is moving.
Focus Strategy in Haze and Dust (Staying Locked)

If your camera offers focus-area options, use the option that lets you keep focus on the subject’s main body rather than the background dust. Wide area AF often grabs contrast patterns in the haze and can “jump” when a dusty patch brightens.
Use focus points deliberately, not automatically
If tracking is available and reliable, keep it trained on the subject. If tracking struggles, reduce the problem by using a smaller focus area and placing it on a high-contrast part of the animal (often the eye region or a darker outline against the brighter air).
In haze, recomposing can be risky: moving from one focus point to another may shift your focus distance. If your camera separates “focus” and “meter” behaviours, consider keeping focus on the subject area as much as possible and avoid unnecessary recomposition.
Manage depth of field without sacrificing shutter speed
A common reaction is to open the aperture wide to “pull in” focus. In dusty air, that can backfire if slight focus errors become more visible. Instead, choose an aperture that gives enough depth of field to tolerate small tracking shifts, while still maintaining a shutter speed high enough for subject movement.
For many action situations, the practical approach is: keep shutter speed prioritized and let ISO rise if needed, then choose an aperture that supports sharpness across the plane where the animal moves.
Exposure Tweaks for Glare, Flare and Dust-Softened Contrast
Prevent flare with lens angle and shading
Glare in dust is often lens-angle related. Bright sun behind the subject can create halos, lowered contrast, and washed whites. If you can, shift your position slightly to keep the sun from striking the front element directly.
When you can’t avoid it, shade the lens with a hand or a camera strap in a careful, consistent way. The goal is to block stray light from entering the lens while still keeping the camera stable.
Use metering choices and exposure compensation to protect highlights
Dust and haze brighten parts of the frame that normally wouldn’t look that bright. Metering can become over-optimistic, especially when much of the scene is bright sand or sky.
If you see blown highlights on the subject’s face or the brightest parts of the environment, try a small negative exposure compensation and verify with the histogram and highlight warnings if your camera provides them. In milder haze, you might need only a subtle change; in stronger backlight, slightly underexposing often keeps detail when the scene is hazy.
Shoot RAW when possible and refine glare in processing
Dust-softened contrast often benefits from flexible post-processing, particularly for micro-contrast and color separation. RAW capture gives more room to manage highlights and recover midtones without pushing the entire image into a flat look.
At capture time, keep white balance consistent. Dust can skew colors warm or grey depending on lighting, so locking a consistent approach helps maintain subject appearance across sequences.
Field Workflow, Safety, and Ethics for Dusty Conditions
Clean between bursts, not continuously for no reason
When a subject is moving, frequent cleaning can mean missed moments. The better pattern is to clean after dust events (for example, when dust blows directly onto the front element or after you travel over rough ground), then shoot short bursts to confirm sharpness.
If images look soft, check quickly: magnify live view on the subject’s eye area, confirm AF accuracy, and then decide whether a fast lens clean is needed.
Prioritise wildlife welfare and safe distances
Sharp photos should never come at the cost of animal stress. Keep a respectful distance, avoid blocking movement paths, and don’t encourage animals to approach vehicles or crowds for the sake of a close shot.
In dusty conditions, it’s also important to reduce your own dust footprint. Drive and walk only where allowed, and follow ranger and guide instructions for viewing distances, vehicle positioning, and the direction of approach.
Stay steady: stability beats extra complexity
Dusty savannas often prompt extra tinkering because haze makes results harder to judge. Instead, keep your technique stable: firm camera support, controlled breathing, and short bursts when the animal shifts direction.
If the subject is close enough for support, brace your elbows and let the lens do its work. If you’re using high magnification, remember that heat shimmer and airborne dust can make “focus perfection” impossible; your aim is reliable sharpness under the conditions you actually have.
Overall, sharp wildlife photography in dusty savannas comes down to three repeatable habits: protect and clean the lens front without grinding grit into coatings, use an autofocus approach designed for moving subjects in reduced contrast, and tweak exposure to manage glare, flare and highlight blowout. Combine that with respectful viewing distances and safe, ranger-approved positioning, and you’ll keep more detail even when the air looks hazy.
Leave a Reply