
If you’re aiming your lens at Africa’s big cats, then you know leopards can be both elusive and spectacular. Dense bush can turn a perfect moment into a blur, especially when light drops and the cat keeps shifting behind branches.
This guide focuses on how to photograph leopards in vegetation-heavy sightings without losing sharpness. You’ll get field-ready advice for low light, occlusion (when leaves cross your subject), and fast head turns, plus a few practical ethics and safety reminders so your images never come at the expense of the animal.
Leopard Conditions That Ruin Sharpness (and How to Read Them)
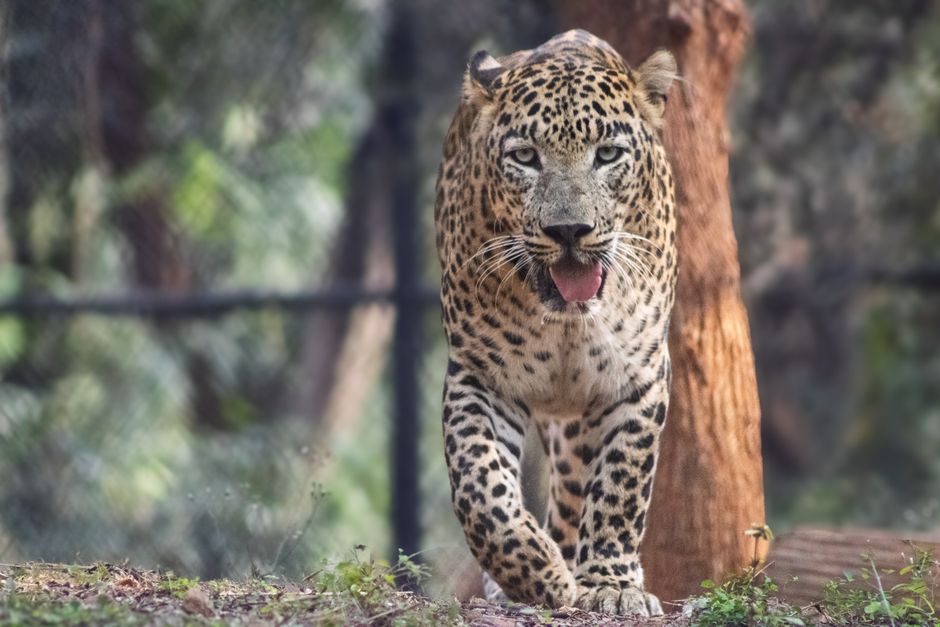
Dense Cover Creates Occlusion and Focus Confusion
Dense bush is rarely a problem for the leopard; it’s a problem for your autofocus and your ability to see the eye clearly. Even when you can spot the cat, branches can partially block the eye, and autofocus may grab contrast from nearby twigs instead of the leopard’s face. Sharpness suffers as soon as the camera “locks” on the wrong plane.
The key is to treat the scene like a puzzle: look for a stable gap in the foliage (even a small one), and use that gap as your aiming channel. When the leopard’s head moves, re-evaluate the gap rather than forcing the focus to stay on an eye that’s now covered.
Distance and Light Change Fast Under Canopy
Leopards often sit in semi-shade, and the lighting can shift when the cat moves a few steps forward or when clouds pass overhead. In dense vegetation, you may also lose contrast, which can slow autofocus and increase the need for higher ISO.
Plan your approach before the first frame: if the leopard is relatively close and the background is darker, you can often hold a faster shutter speed. If the leopard is farther away or backlit by brighter leaves, your shutter speed may need protection through exposure settings and ISO.
Where Leopard Sightings Are Common
Leopards use thickets, riverine cover, and open woodland edges, so they show up in many major safari regions. For practical leopard photography chances, these reserves and parks are well known for sightings:
- Sabi Sand Game Reserve (South Africa)
- Kruger National Park (South Africa)
- Maasai Mara National Reserve (Kenya)
- Moremi Game Reserve (Botswana)
- Etosha National Park (Namibia)
- Serengeti National Park (Tanzania)
Camera Settings for Sharp Leopard Photos in Low Light
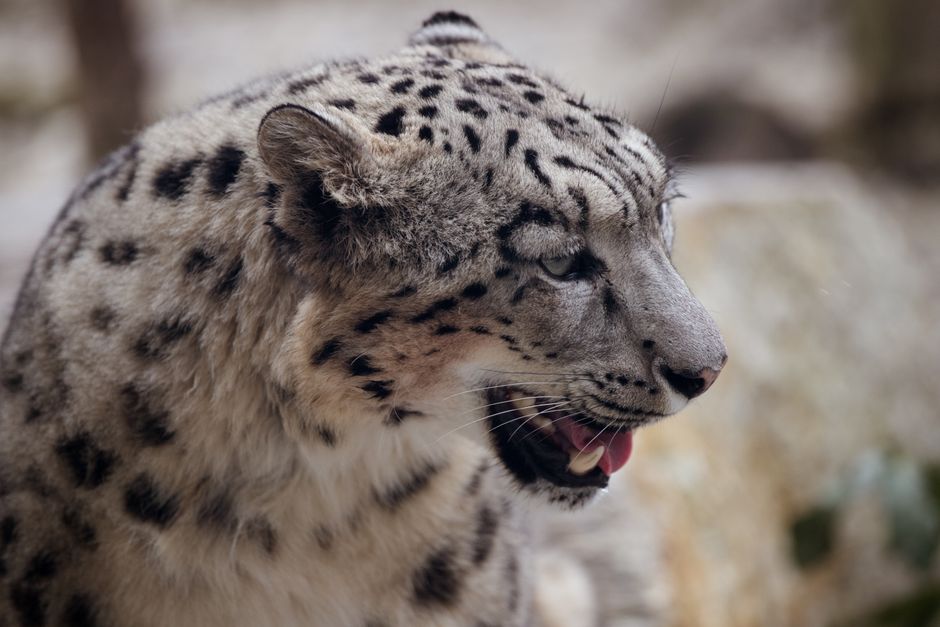
Prioritise Shutter Speed for Motion and Head Turns
In dense bush, sharpness usually breaks for two reasons: subject motion (head turns, paw shifts) and autofocus accuracy. Your best defence is to keep shutter speed high enough that motion blur is minimal.
As a starting point, aim for shutter speeds around 1/1000s or faster when the leopard is active or turning its head. If the leopard is completely still and the light briefly improves, you can sometimes drop lower, but dense shade usually punishes slower speeds.
Use a fast continuous shooting mode (high-speed burst) so you’re not betting the entire moment on one perfect frame.
Use Autofocus That Tracks and Doesn’t Hesitate
For leopards, autofocus needs to continuously follow the subject while you react to its movement. Most modern cameras offer an animal-oriented tracking mode; if your camera performs well with animal detection, it can help keep the focus on the face. The catch is occlusion: if branches cover the eye, the system may jump.
To manage this, choose an autofocus mode designed for moving subjects (often labelled AF-C or continuous servo). Combine it with a focus area that can “hold on” when the subject shifts slightly. If your camera offers adjustable tracking sensitivity, set it so it doesn’t immediately abandon the leopard when a twig crosses the frame.
Practical tip: keep your focus-area strategy consistent. Switching between modes during an excitement spike makes it easier to miss sharp frames when it matters.
Aperture and ISO Strategy for Depth of Field and Noise
A lens wide open can give you the shutter speed you need, but it may also reduce the margin for error if the eye isn’t perfectly in the focus plane. A common compromise is to stop down slightly (often around f/5.6 to f/7.1 on many telephoto lenses), if your light allows it.
ISO is the tool that protects shutter speed. Set your Auto ISO ceiling so the camera won’t force shutter speed too low in shade. If you shoot RAW, you can usually recover more shadow detail and manage noise better in post than if you’re limited to JPEG straight out of camera.
Field Techniques to Keep Focus Through Branches
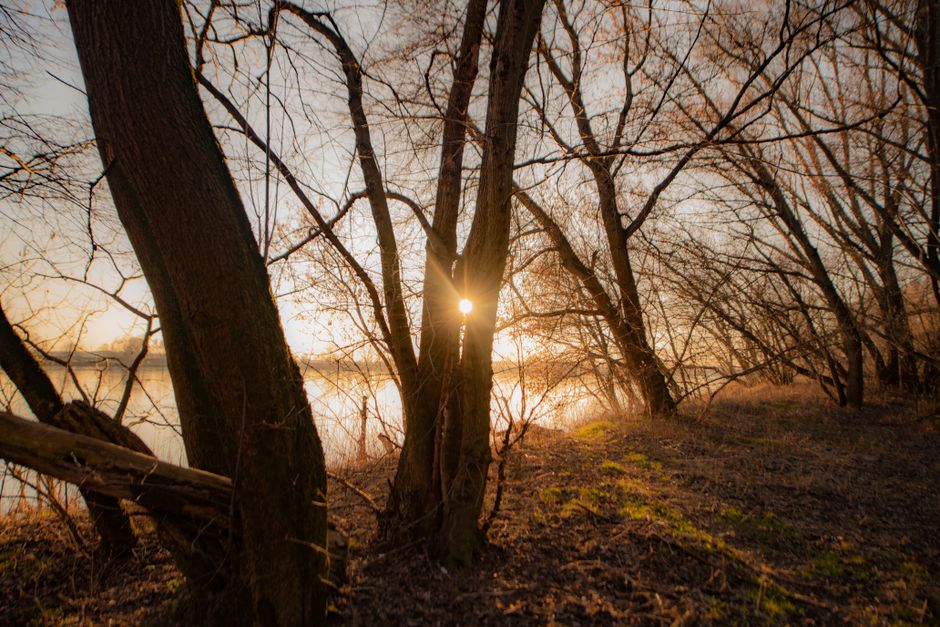
Shoot Through Gaps, Not Through Expectations
You might think “fill the frame” is the goal, but in dense bush the goal is clarity at the eye. Instead of fighting every branch, find the cleanest gap you can. Even a small opening can produce sharp eye detail if your focus point is placed correctly.
When the leopard is moving behind foliage, attempt “gap discipline”: track the head, but only press the shutter when the eye is visible in your chosen gap. This approach reduces the number of autofocus failures and increases your keepers per sighting.
Track the Shoulder and Anticipate the Eye Path
A leopard’s head turn is usually preceded by shoulder movement and changes in posture. If you wait until the eye is visible to start tracking, you’ll often be late.
Try this field routine: start by tracking the body shape (especially the shoulder line), then follow the expected path of the head into the gap. This gives your autofocus a better chance to maintain lock as the face comes into view.
Also keep an eye on the background plane. If the leopard moves from a dark patch to a lighter patch of leaves, contrast shifts and autofocus can behave differently. Re-check focus alignment as the environment changes.
Use Burst Timing to Capture the Sharpest Frame
Head turns rarely produce only one clean frame. During short movements, a short burst timed over the head motion can yield at least one frame where the eye is sharp and motion blur is minimal.
If your camera supports it, consider “less is more” bursts: two to six frames over the action peak rather than firing continuously for a long time. Continuous shooting can increase the chance of capturing frames where branches briefly cross the eye.
Exposure and Metering in Dappled Shade
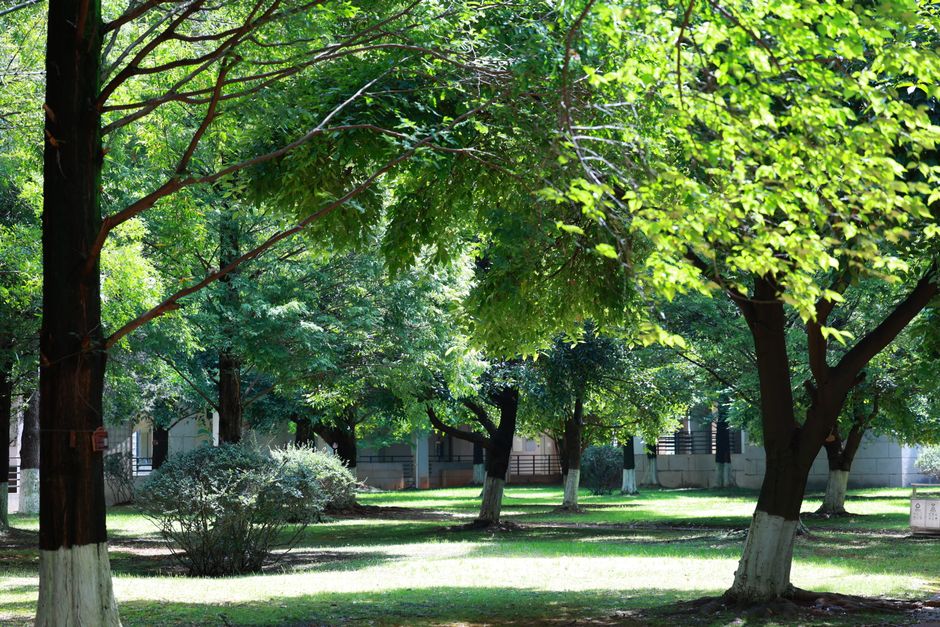
Protect Highlights While Keeping the Face Bright
Under canopy, the leopard may sit in shade while bright leaves frame the scene. Metering systems can overexpose the face if bright areas dominate the frame, or underexpose if the subject is the brightest element.
A safe starting strategy is to expose for the leopard’s face rather than the foliage brightness. If you use evaluative or matrix metering, watch your histogram and adjust exposure compensation as needed. When faces look too dark, you’re usually safe to lift exposure slightly; when foliage looks blown out, pull exposure back.
Auto ISO with Exposure Compensation for Consistency
Dense bush often forces you to react to changing light every few seconds. Auto ISO helps keep shutter speed in a safe range, but it can also “chase” brightness changes.
Use exposure compensation to guide the camera. For example, if the scene repeatedly renders the leopard too dark due to bright leaves in the frame, dial in a positive adjustment. If the opposite happens and the face turns too bright, dial in a negative adjustment. The goal is consistency across the burst rather than frame-by-frame surprises.
White Balance and Contrast in Green Chaos
Green leaves can skew colour, especially in mixed light. If you shoot RAW, white balance is more flexible in post, but it still helps to start with a sensible setting.
Avoid extreme in-camera sharpening or aggressive contrast in a way that amplifies foliage edges. For sharp leopard images, your priority is correct autofocus and exposure; post-processing should support that rather than create artificial crispness on branches.
Ethics, Safety, and Maximising Your Chances During Short Sightings
Respect Wildlife Welfare and Keep Your Distance
Leopards are easily stressed by repeated disturbance, and dense bush sightings can tempt people to “try one more shot” from an unsafe or intrusive position. Stay within the viewing rules set by your guide and vehicle protocol, and avoid anything that encourages the leopard to move.
If the leopard is close to your vehicle, focus on steady, respectful shooting rather than crowding forward or increasing noise to “get the shot.” Your best photographs come from calm presence, not pressure.
Safety First: Stable Handling Around Movement and Low Visibility
Vegetation-heavy scenes often reduce visibility for everyone, including you, your driver, and other guests. Keep your posture stable, watch for branches near the lens, and avoid blocking exits or mirrors.
If you’re using a monopod or tripod, ensure it’s secure and doesn’t extend into space where it could catch on branches or interfere with another vehicle’s line of sight.
Review Quickly Between Frames, Then Prepare for the Next Gap
When the leopard moves behind foliage, don’t panic and change everything at once. Instead, quickly assess three things: shutter speed (protecting against motion blur), autofocus lock (on the eye or the face plane), and framing (whether you have a usable shooting lane).
Then prepare for the next visible gap. Many of the sharpest leopard photos happen because the photographer remained ready for the next moment of clarity rather than constantly “restarting” the camera settings mid-action.
Overall, sharp leopard photos in dense bush come down to three controllable factors: a shutter speed that can handle motion, an autofocus approach that can keep tracking through short occlusions, and field timing that uses visible gaps instead of forcing shots through branches. Combine those with calm, welfare-led viewing practices, and you’ll dramatically increase the odds of capturing crisp eye detail even when the sighting is tight, dim, and fast.
Leave a Reply