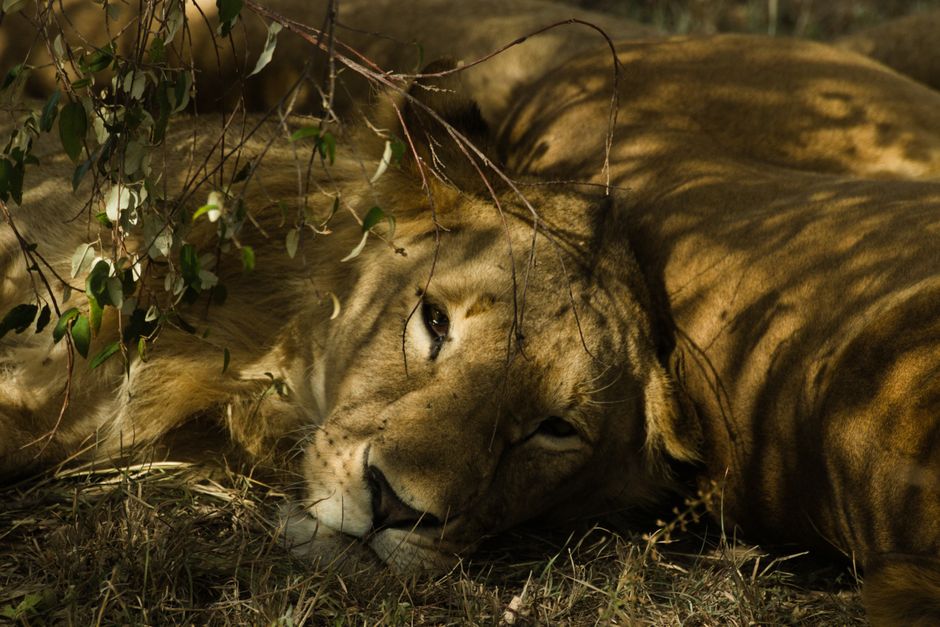
If you're into safari photography, then you know dusty savannas can test your camera gear.
This guide explains how a polarizing filter works in the real conditions you’ll face on safari, when it improves results (and when it can cause uneven skies or dull contrast), and how to adjust exposure and autofocus for animals that move fast.
Dust is part of the safari story. The goal is to use your polarizer as a tool, not a constant. Once you learn the “when and why”, you’ll be able to react quickly on the drive, even when the light changes and animals suddenly appear.
How a Polarizing Filter Changes Light on Safari
What the filter is doing (and why it matters)
A polarizing filter reduces glare by blocking certain orientations of polarized light. In practice, that often means fewer reflections from smooth surfaces like water, shiny leaves, and dry grasses catching strong sun. The effect is most noticeable when the sun is at an angle to your camera position, which is why rotating the filter matters.
For wildlife photography, the benefit is simple: less glare can give you clearer colour separation, more “depth” in foliage, and stronger contrast in the background.
Circular vs. linear: use the right kind for cameras
On most modern cameras, you’ll want a circular polarizer (often marked “C-PL” or “CPL”). Circular polarizers are designed to work correctly with autofocus and metering systems that rely on polarization-sensitive internal optics.
If a lens uses a filter size you can’t easily match on safari, the simplest approach is to prioritise a single quality filter you trust, rather than frequent swapping under dusty conditions.
How rotation controls the effect
Polarizers don’t have a single “on” setting. Rotate the front ring while watching through the viewfinder or LCD. You’ll typically see:
- glare reduced and colours deepened at the stronger setting, and
- the effect changing as you rotate.
Because safari moments are brief, make sure you can rotate quickly without touching the glass with dusty fingers.
When Polarizers Help vs. Hurt in Dusty Savannas

Sky contrast: powerful when you’re positioned right
A polarizer can darken blue sky and reduce haze-like washout, especially when the sun is off to the side. That can make dramatic skies for animal silhouettes, horn lines, and flight shots.
However, dusty savannas often have a lot of atmospheric scattering. In those cases, the sky can become uneven (darker in one region, lighter in another), particularly at wide focal lengths. If you notice mottling in the sky gradient, back off the effect by rotating to a weaker setting or remove the filter.
Foliage and dry grasses: deeper colour, but watch for “muddy” contrast
On sunny days, polarizers often improve the look of leaves and grass blades by reducing shiny highlights. This can help your subject stand out, especially when the animal is framed by green vegetation.
In very dry, dusty grass, glare reduction may remove the bright “sparkle” you were relying on for texture. The result can feel a bit flat. If you’re aiming for crisp detail rather than a softer look, test the polarizer quickly on the first good scene, then decide whether to keep it.
Dust haze: the polarizer can’t fix air scattering
Dust haze is not the same as glare from a surface. Air scattering light in the atmosphere isn’t consistently polarized in the way a polarizer targets. That means a polarizer often has limited benefit for “haze reduction” and can sometimes darken parts of the scene without actually restoring clarity.
For distant subjects, treat haze as a separate challenge. Use technique instead: choose a lower angle where dust is less prominent, wait for movement closer to you, and consider shorter distances whenever your vehicle rules and safety allow.
When the air looks milky, don’t force the filter. It’s usually better to prioritise correct exposure and contrast through good timing.
Subjects that commonly benefit
- Elephants in shade (reducing wet-looking shine on skin highlights and helping background contrast)
- Zebra and antelope on reflective grass (taming sun glare on dry blades)
- Waterhole drinking scenes (minimising reflections on calmer water)
- Birds on shiny perches (reducing specular glare off leaves or branches)
Setting Up the Filter in Real Safari Conditions

Put it on when conditions demand it
On safari, the quickest way to get better photos is often to stop thinking of the filter as “always on.” Use it when you see glare-heavy situations: strong sun hitting foliage, shiny water, or a sky that will benefit from deeper blues.
Take it off when you’re fighting uneven skies, very heavy dust wash, or scenes where you need maximum light for fast shutter speeds.
Because polarizers reduce light (often around a stop or two, depending on design), you’ll feel the impact when light is low or when you must shoot at very fast shutter speeds.
Rotate deliberately, then lock in your choice
Once you’ve found a pleasing reduction of glare, commit and keep your rotation consistent for a short burst. If you rotate while tracking a moving animal, you risk missing the moment.
A practical approach is to:
- set the filter effect before the animal arrives, and
- fine-tune only during brief pauses.
If your camera or lens supports it, verify the result on the back screen with a quick zoom on a high-detail area (eye, horn ridge, feather detail) rather than judging only from the overall frame.
Keep dust off the glass and handle with care
Dust is the enemy of contrast and clarity. A polarizing filter adds another air-to-glass surface, so smears and micro-scratches show up more easily.
Use a lens hood where possible, keep the cap on when swapping lenses, and avoid wiping grit into the coating. If dust has landed on the filter, start with a blower or soft brush and finish with a clean microfiber cloth.
Fast lens changes also increase risk. If your shooting plan involves using the polarizer, it’s often safer to leave it on the lens for the trip day rather than repeatedly removing it in wind and dust.
Exposure and Focus Tips for Fast-Moving Animals

Exposure: compensate for light loss and protect shutter speed
Because a polarizer can darken the scene, your camera may respond by slowing shutter speed or raising ISO. For wildlife action, shutter speed is usually the priority.
Aim for consistent exposure control:
- If you shoot in aperture priority, keep an eye on shutter speed and use exposure compensation if needed.
- If you shoot in manual with auto ISO, set a shutter speed you trust for motion, pick an aperture that gives sufficient depth of field, and let ISO rise.
For fast movers (running antelope, charging predators, birds in flight), don’t let the camera decide to slow down just to “look good” in the histogram. A slightly noisier image is often better than a blurry one.
Metering surprises: polarizer effect changes with angle
As the filter rotates and your position relative to the sun changes, the scene brightness changes. This can make metering inconsistent, especially with reflective backgrounds.
Treat the polarizer like an intentional exposure variable:
- check your exposure after rotating,
- re-check after moving to a new direction relative to the sun,
- and don’t assume the previous settings will carry over perfectly.
In dusty conditions, exposure errors can look worse because haze reduces contrast between subject and background.
Focus and tracking: continuous AF and reliable subject acquisition
For moving animals, autofocus needs to stay locked through changes in distance and background.
Use continuous autofocus (often called AF-C) and a tracking mode designed for moving subjects, then practise keeping the focus point on the animal’s head/shoulders where possible. If the subject moves behind branches or reeds, be ready for autofocus to hunt; maintaining composition that minimises obstructions can be as important as your camera settings.
If your camera supports it, consider back-button focus so you can separate “acquire focus” from “press to shoot.” That can help maintain focus discipline in unpredictable safari moments.
Capture discipline: short bursts and anticipation
Polarizers don’t improve missed moments. The real separator in safari action photography is timing.
In general:
- Use continuous shooting so you can grab the frame where the eye is sharp.
- Practise “lead” when the animal is moving toward or across your field of view.
- Anticipate behaviour: head lifts, change of stride, and pauses before a dash.
If the light is fading, the polarizer’s light loss can force ISO upward or shutter speed downward. When you see that trade-off happening, rotate to a weaker setting or remove the filter and prioritise shutter speed.
Ethics, Safety, and Planning for Better Results
Respect wildlife distance and local rules
A polarizing filter won’t keep you safe or protect animals, so the usual safari ethics still matter: stay within agreed viewing distances, keep noise low, and follow your guide’s instructions on vehicle movement.
Avoid encouraging behaviour changes for a photo. If an animal shows signs of stress or altered movement, your responsibility is to stop pressing for the shot and refocus on safe, calm viewing.
Safety around dust, vehicles, and gear
Dusty savannas reward careful handling. Keep hands, straps, and lens caps secured while inside a vehicle. When the vehicle moves, avoid reaching across other seats or obstructing the driver’s view.
Also remember that polarizing filters can snag on lens caps and hoods. If you frequently remove and replace it, do it when the vehicle is paused and stable.
Make the polarizer part of your workflow before the light changes
The best way to use a polarizer on safari is to build a repeatable routine:
- At the start of a drive, decide whether glare control is needed based on the sky and vegetation.
- When a good scene appears, rotate to confirm the improvement and lock your choice.
- When the scene becomes dusty or the sky turns uneven, remove or weaken the effect.
A simple checklist in your mind helps. It reduces the time spent fiddling when a fast animal suddenly enters the frame.
Overall, the polarizing filter is most useful when you’re fighting real reflections and strong sun angles, and least useful when the challenge is dust haze and atmospheric scattering. Combine that judgement with shutter-first exposure control, continuous autofocus tracking, and disciplined safari etiquette, and your images will stay sharp, natural-looking, and respectful of the animals and communities you’re visiting.
Leave a Reply