
If you're a birding enthusiast, then you know that Africa is a paradise for birdwatching. This guide shows you how to choose and use a spotting scope for safari wildlife and distant birds, with practical advice on magnification, stable support, alignment, and field techniques that improve clarity.
From reading the right specs (without getting lost in marketing terms) to reducing heat shimmer and glare in real safari conditions, you’ll learn a workflow that makes spotting, tracking, and focusing more efficient. The aim is simple: better views, less frustration, and responsible wildlife viewing at respectful distances.
Choosing the Right Spotting Scope for Safari and Birding
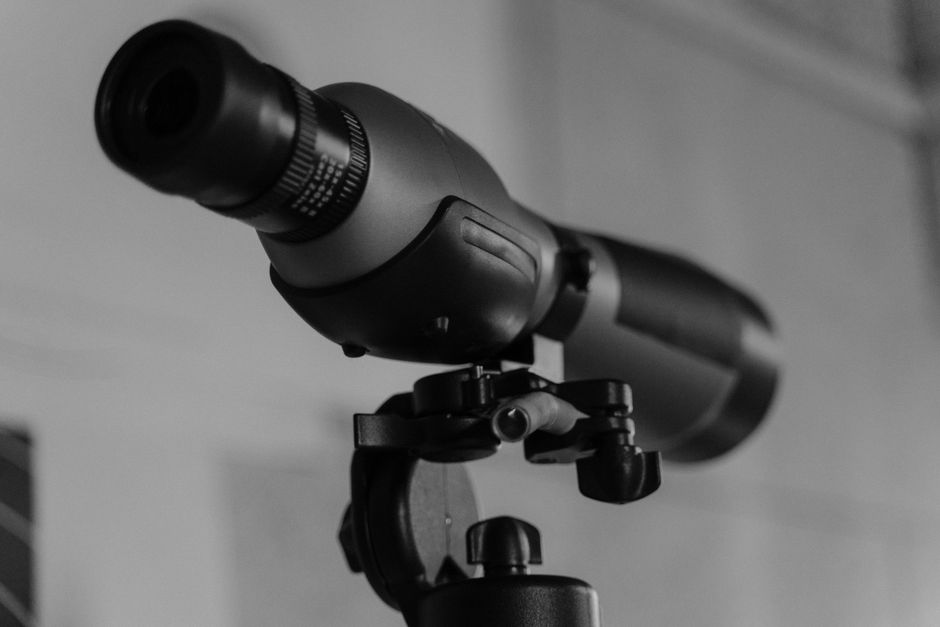
Magnification that matches real distances
On safari, you often need enough magnification to see feather details or identify a bird in flight, but you also need a usable, steady picture. Higher magnification can help, yet it also makes the scope more sensitive to heat shimmer, wind shake, and small focusing errors.
For general wildlife and birding, many scopes in the mid-to-high zoom range (often described as something like “20–60x” or “25–75x”) are popular because they let you adjust from scanning to closer inspection without changing equipment. A practical rule is to start lower when you’re searching, then increase only after you’ve locked onto the subject.
Objective lens size and image brightness
The objective lens diameter (commonly around 60–85mm on many safari spotting scopes) influences how much light reaches the image, which matters for early mornings, late afternoons, and overcast days. A larger objective usually helps in dimmer conditions and can also improve comfort if you’re using higher magnification.
However, bigger objectives often mean a heavier scope and a larger tripod requirement. If you’ll be viewing from vehicles frequently or moving between hides, balancing brightness with portability is the real decision.
Optics, coatings, and comfort features
Look for scope designs that emphasize glare control and contrast. Coatings on lenses can help reduce reflections and improve performance in bright African sun, especially when you’re viewing against sky or pale backgrounds.
Also pay attention to focusing feel and how quickly you can refocus. Safari wildlife is rarely stationary, and birds rarely wait for perfect technique. A scope that’s easy to fine-tune with gloved hands or in dusty conditions becomes a tool you actually use.
If you want to see how spotting scopes change the safari experience, they’re particularly useful in places where wildlife often sits at a distance across open plains, river corridors, or dry woodland.
- Maasai Mara National Reserve (Kenya)
- Serengeti National Park (Tanzania)
- Kruger National Park (South Africa)
- Etosha National Park (Namibia)
- Okavango Delta (Botswana)
- Chobe National Park (Botswana)
Tripod and Monopod Setup for Stable Viewing
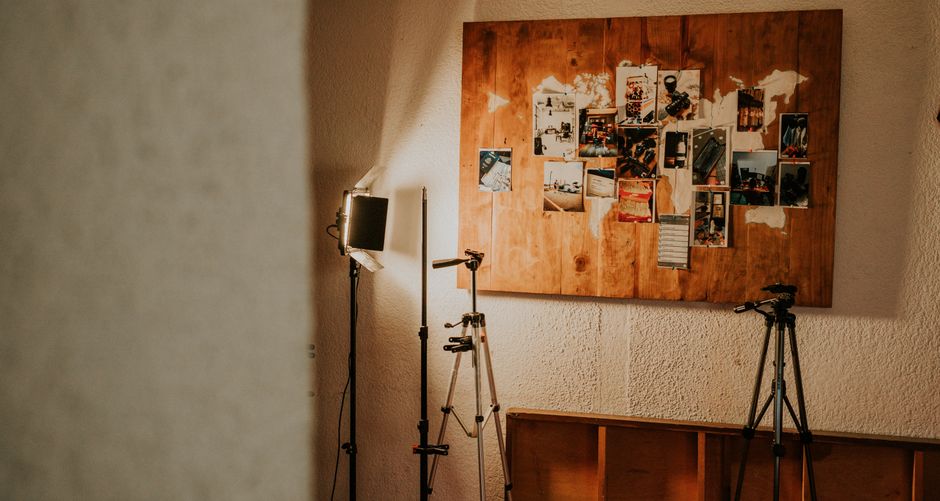
Choose the right support for your safari style
A spotting scope is only as steady as the setup behind it. For long inspection sessions, a quality tripod gives smoother tracking and easier fine focusing. If you’re viewing from a vehicle window or a platform and need to move quickly, a monopod can be more practical.
A tripod should be tall enough that you don’t hunch your shoulders, and stable enough to prevent vibration when you touch the focus knob or when the vehicle hits a rough patch. If you’re often on uneven ground, consider a support system that can level easily.
Tripod details that make a difference in the field
Stability is more than “big tripod versus small tripod.” Focus on the head and how it moves:
- A head that allows controlled left-right panning and up-down adjustment helps you keep animals in the field of view.
- Quick leveling helps when you’re switching between viewing angles during game drives.
- For safari use, keep center-column extensions minimal when possible. They can raise the center of gravity and increase shake.
If you’re using a tripod, a consistent placement workflow helps. Set the feet, stabilize your stance, and then bring the scope to eye height rather than repeatedly reaching and re-aiming. That reduces bumps and speeds up image acquisition.
Monopod technique for vehicles and hides
A monopod can work well for scanning and quick looks, but you’ll need to manage how you transfer motion. Place the monopod on a stable surface when possible, use your other hand to steady the scope body lightly, and avoid sudden corrections.
When wildlife moves, smooth tracking matters more than chasing with jerky movements. Practice panning in short, controlled motions, then pause just long enough for the image to settle and focus to “snap” into clarity.
Aligning the Scope With Your Eyes and Camera

Get eye relief and eyecup alignment right
The fastest way to frustration is misalignment between the scope eyepiece and your eyes. Start by adjusting the eyecup so the full image area is visible. If you wear glasses, confirm the scope has enough eye relief and that the eyecup doesn’t force your head into an uncomfortable angle.
Once the eyecup and your viewing position match, you’ll be able to find the image quicker and focus faster when a bird calls or a lion moves into view.
Use diopter adjustment and consistent focusing
Many spotting scopes include a diopter adjustment that helps tune the view to your eyesight. Set it once at the beginning of the session, then use the main focus knob for subjects at different distances.
A good habit is to avoid constantly twisting both controls. If you frequently adjust both, you can lose your baseline and spend time re-finding the “correct” setting. Instead, set diopter, then fine-tune focus only.
Aligning with a camera or doing digiscoping
Digiscoping can produce excellent results, but it demands careful alignment between the camera lens and the scope eyepiece. The basic workflow is:
- Aim and focus visually first.
- Attach the camera using an appropriate adapter or mount designed for that eyepiece setup.
- Use your camera’s live view (or screen) to fine-tune the framing.
Be prepared for a slightly narrower field of view in camera mode than you see with the eye. Expect to spend a few seconds centering the subject each time you reposition.
For moving birds, prioritize shutter speed and stabilization. Keep the scope steady, track smoothly, and release when the subject’s head orientation looks sharp. If the camera struggles to focus, reduce magnification or switch to a simpler composition to help autofocus and exposure behave more predictably.
Field Techniques to Reduce Heat Shimmer and Glare
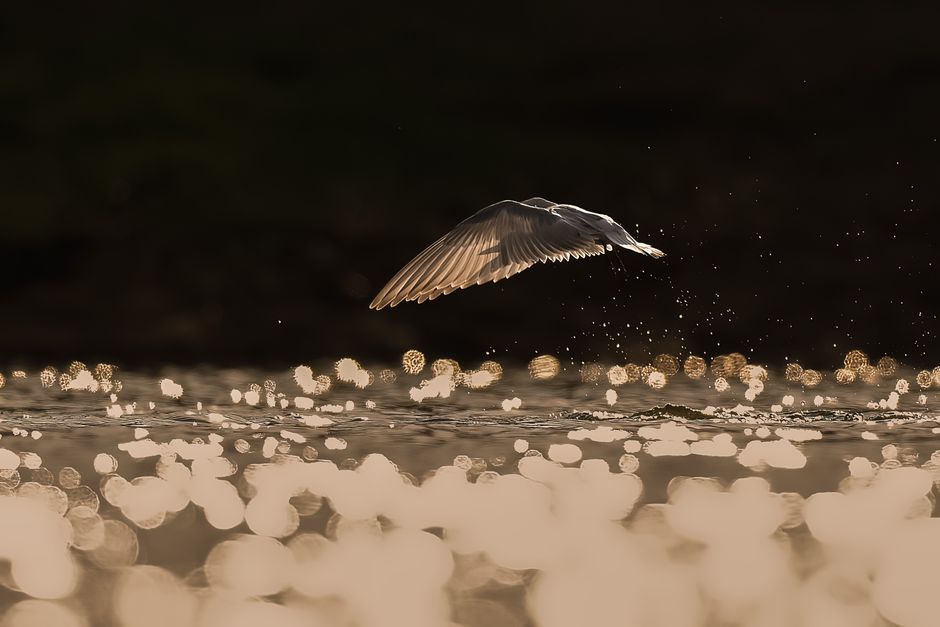
Work with the air, not against it
Heat shimmer is a major limitation at higher magnification, especially over hot ground like sand, rocks, and dry riverbeds. If the subject is located where sun-baked terrain sits between you and the viewing line, the view may warp even with a perfect focus.
To reduce shimmer:
- Change your viewing angle when it’s safe to do so. Sometimes stepping slightly left or right places the optical path over cooler vegetation or a different surface.
- Wait a few minutes. As wind shifts, air can calm and the image can briefly sharpen.
- Use lower magnification for scanning, then increase only when the picture is stable.
If the animal is on open ground near water, consider that reflections can create additional “visual noise.” In those situations, a slightly different angle can help both shimmer and glare.
Manage glare with sun position and simple optics habits
Glare comes from direct sunlight and reflective backgrounds. Common causes include looking toward the sun, viewing across bright sand, and tracking birds against a pale sky.
Practical ways to improve contrast:
- Position yourself so sunlight is behind you or off to the side. Even a small shift in your stance can make reflections easier to control.
- Use a lens shade or hood if your scope design includes one.
- Keep the front lens clean and free of dust smears. A tiny film can cause veiling glare that looks like “haze,” even when the optics are fine.
If you use a polarizing filter (where compatible with your setup), test it carefully. Polarizers can reduce glare on water and some reflective surfaces, but they may also darken parts of the scene and affect camera exposure during digiscoping.
Tracking moving wildlife without adding shake
In safari settings, the biggest clarity killers are often vibration and over-corrections. Use your body and support to dampen movement:
- Keep elbows anchored lightly where comfortable, especially when panning.
- Pan smoothly rather than stopping and jumping.
- Focus after tracking rather than while constantly moving the scope.
For birds, track head movement and use pauses to re-check feather detail. For larger mammals, identify the action first (feeding, walking, resting), then slow down your tracking and focus at the moment the subject holds a stable posture.
Responsible Safari Viewing and Maintenance for Long-Term Performance
Respect distance, rules, and animal behavior
Using a spotting scope should never encourage you to press boundaries. Even if you can see details from far away, follow your guide’s instructions and park rules. Keep viewing respectful and avoid approaching wildlife to “get a better angle.”
If you’re viewing in groups, coordinate quietly. Don’t block sightlines for other vehicles or crowd around hides. Wildlife watching works best when everyone’s movement is calm and predictable.
Equally important is wildlife welfare: never attempt to locate animals by harassing calls, flashing lights, or repeated engine-off/engine-on patterns aimed at changing behavior. A good spotting scope helps you observe without intruding.
Keep lenses and mechanics clean in dust
Safari environments combine sun, dust, and occasional mist. Dust is the enemy of contrast and can scratch coatings if wiped improperly.
A solid maintenance habit is to:
- Blow off loose dust gently before wiping.
- Use lens cleaning tissue or a proper lens cloth rather than household items.
- Store the scope in a dry, padded case and protect it from sudden temperature swings.
If the scope gets humid (for example, when moving from a cooler vehicle into warm air), give it time to adjust. Rushing into wiping can spread moisture onto lens surfaces.
Troubleshoot common problems quickly
Even well-kept optics can need adjustment. Learn how to recognize issues:
- If the image is soft, confirm focus first, then check whether heat shimmer is distorting the view.
- If contrast seems dull, inspect for dust on the front lens or eyepiece.
- If the alignment feels “off,” verify that the scope is seated correctly on its mount and that the tripod head isn’t slipping.
For digiscoping, if framing drifts or you’re consistently cutting off the subject, re-check the camera mount and the eyepiece connection. Small misalignments can show up strongly once you add magnification.
Overall, choosing a spotting scope is about matching magnification and objective size to the conditions you’ll face, then supporting it with a stable tripod or monopod. Align your eyepiece setup so you find the image quickly, use field angles and waiting strategies to tame heat shimmer, and manage glare with sun position and clean optics. With responsible viewing habits and careful maintenance, your scope becomes a reliable companion for clearer wildlife observations and more confident distant birding across Africa’s varied landscapes.
Leave a Reply