
If you're a birding enthusiast, then you know that Africa is a paradise for birdwatching. If you're preparing for safari bird photography and digiscoping in South Africa, lens choice can make the difference between soft, hazy frames and crisp, frame-filling portraits.
This guide shows you how to select focal length for different bird sizes and viewing distances, how to match a camera lens with a spotting scope for digiscoping, and which exposure and autofocus settings tend to work best when heat shimmer rises or when you’re shooting from low-light hides.
You’ll also get a practical way to shortlist gear for specific safari environments, from open plains in Kruger National Park to cooler, wetter birding conditions at iSimangaliso Wetland Park.
Understanding Telephoto Lenses for Digiscoping and Long-Distance Birds

However, “more reach” is not automatically “better images.” If the bird is still too far for your resolution to hold detail, extra focal length won’t fix softness. Instead, you want a balance between:
- focal length (how large the subject appears)
- optical quality (sharpness and contrast)
- support stability (tripod/head rigidity)
- and atmospheric conditions (heat haze and dust)
Prime, zoom, and teleconverter trade-offs
For safari work, primes often deliver excellent sharpness and consistent performance. Zooms offer flexibility as birds move, call, or change distance—useful when you can’t reposition.
Teleconverters (also called extenders) can add reach, but they also reduce effective aperture. In low-light hides, reduced aperture can push your camera toward higher ISO or slower shutter speeds—both can affect sharpness for birds that move.
How digiscoping changes the lens “job”
Digiscoping is about coupling a camera to a spotting scope’s optical path. That means your setup is influenced by more than just the lens spec sheet. The scope’s design, eyepiece, alignment, and how your camera mounts all influence image sharpness.
In practice, you’ll typically think in terms of “effective magnification” and stability rather than purely the camera lens length. A well-matched scope/camera combination often matters as much as the headline focal length.
Focal Length Choices for Safari Birding

In areas where birds perch in open sightlines, like Welgevonden Game Reserve, mid-range telephotos can keep your shutter speeds high enough to freeze wing flicks and head turns. The best choice is the one that lets you shoot comfortably in the moments the bird behaves well.
When to step up to longer reach
When birds repeatedly stay far—over water, across grasslands, or beyond a safe viewing boundary—longer focal lengths can help you fill the frame. This is where 800mm-class options can become tempting, particularly in landscapes where you can’t close distance.
But before going all-in on extreme reach, consider whether your subject distance and air quality allow fine feather detail to survive. If heat haze is frequent, “extra magnification” can turn fine detail into smeared texture.
Matching focal length to bird size and behaviour
Small, fast birds demand both reach and responsiveness. Larger birds give you more room to manage exposure and focus.
A useful way to decide is to think in terms of the kind of photography you want:
- If you want portraits of perching species like the Lilac-breasted Roller, you can often work at moderate-to-long focal lengths.
- If your target is large raptors or eagles that may still sit far out in the open, extra reach can help—though stability and shutter speed remain critical.
- If you’re aiming for ground-facing moments (for example, the Southern Ground-Hornbill), plan for wider frames at longer focal lengths, because the bird may move unexpectedly.
Spotting Scope Compatibility and Digiscoping Setup
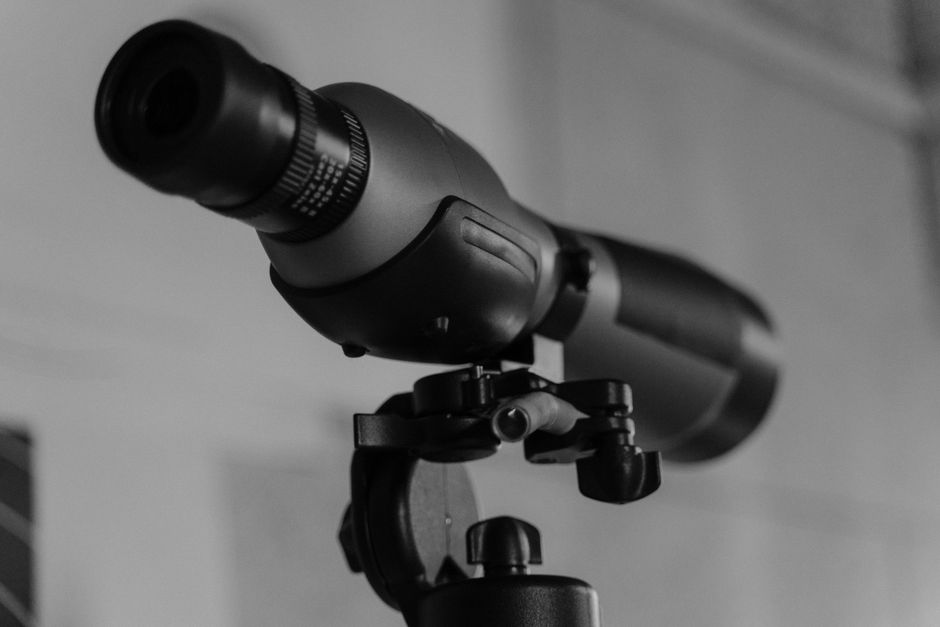
If you’re starting from scratch, build your shortlist around the scope you plan to carry. Different scopes have different eyepiece designs, and those designs affect where your camera needs to sit for best focus and least vignetting.
Mounting and alignment: the sharpness bottleneck
Most “digiscoping struggles” come down to alignment and stability rather than lens reach. Even minor angular misalignment can soften detail, especially at longer effective magnifications.
For best results, prioritize:
- rigid tripod support for the scope/camera combination
- repeatable mounting that doesn’t twist under tension
- a focusing method that locks down once the bird is in place
If your digiscoping adapter allows adjustments, use them carefully when the scene is still and you can test focus on a nearby contrasty target first.
Eyepiece magnification and your effective focal length
Eyepiece magnification changes the final image scale. Two digiscoping setups with the same camera lens can produce different magnification once you include eyepiece choice and camera-scope distance.
Practical tip: during setup, take test frames of a high-contrast subject (a perched bird, a branch tip against sky, or a distant sign where permitted). Adjust until the image looks sharp across the frame, then keep that spacing stable.
Camera Settings for Heat Haze, Dust, and Low-Light Hides

What helps most is strategy:
- Prefer early morning and late afternoon windows when air is more stable.
- Focus on the closest edge of the subject (or the most contrast-rich area) rather than hunting forever.
- Be ready to fire a short burst when the bird briefly becomes crisp through the shimmer.
If you’re photographing in places with strong daytime warming, you’ll notice that long-distance subjects can look clearer from shaded vantage points than from open sunlit slopes.
Low-light hides: prioritize shutter speed over wishful ISO
Low-light hides often push cameras toward slower shutter speeds. For birds, blur can come from both movement and micro-shake from the support.
As a baseline approach:
- Set a shutter speed high enough to freeze head turns and wing movements (often you’ll need to choose faster rather than slower in hides).
- Use Auto ISO with a cap you’re comfortable with, so exposure stays within a range that still allows sharpness.
- Keep aperture in a range where the lens is performing well, especially if you’re shooting at long effective focal lengths.
If you’re aiming at a bright but distant subject like the African Fish Eagle over water, exposure can also swing as the background shifts from bright sky to darker banks.
Autofocus behaviour and burst discipline
Autofocus settings matter because birds don’t hold perfectly still. Long telephoto shots magnify focus errors.
In practice:
- Use AF modes designed for moving subjects and enable continuous tracking where your camera supports it.
- Consider limiting AF to a manageable area (so the camera doesn’t jump to background clutter).
- Use short bursts rather than long sprays; continuous motor noise and constant re-acquisition can reduce keeper rate.
When light is low, it can be better to take fewer, more deliberate frames at the moment the bird is facing the direction you want.
Planning Your Safari Lens Kit in South Africa (and Staying Ethical)
Build a gear shortlist around your route and bird targets
South Africa’s bird photography opportunities vary by habitat. Kruger National Park can offer long sightlines, while iSimangaliso Wetland Park can change the light quickly between shoreline brightness and reed-bed shadows.
To choose sensibly, match your lens setup to your likely shooting scenarios:
- open, sunlit viewing: prioritize shutter speed and contrast
- shade and hides: prioritize light-gathering and controlled ISO
- digiscoping: prioritize alignment stability and scope compatibility
A simple way to shortlist is to write down the bird situations you expect, such as photographing the Cape Glossy Starling when it’s active around canopy edges, or waiting for a Southern Ground-Hornbill moment when the bird finally steps into clearer light.
Respect hide rules and keep distance
Wildlife welfare matters as much as technical image quality. In hides and at viewing points, avoid actions that increase stress or change behaviour.
Ethical long-distance photography in South Africa typically means:
- stay within designated viewing areas and time slots
- avoid rapid repositioning or blocking sightlines of other visitors
- keep sound low and movements slow, especially near sensitive species
If a bird changes posture in response to you, that’s a clear cue to reduce pressure—back off if possible, and give the animal time to settle.
Heat, dust, and conservation-friendly handling
Safari conditions can be hard on gear: dust, occasional rain, and rough handling during vehicle transitions. Protect your optics without using harsh chemicals, and keep lens caps on when changing locations.
If you’re carrying a scope and a camera, ensure tripods are set securely and that cables don’t catch on straps or brush. This is both a safety matter and a conservation matter: fewer accidents means less disruption for wildlife and other safari guests.
By following these focal-length principles, checking scope compatibility early, and tuning your settings for heat haze and low-light hides, you’ll build a telephoto setup that actually performs in the conditions you’ll face across South African birding habitats.
Leave a Reply